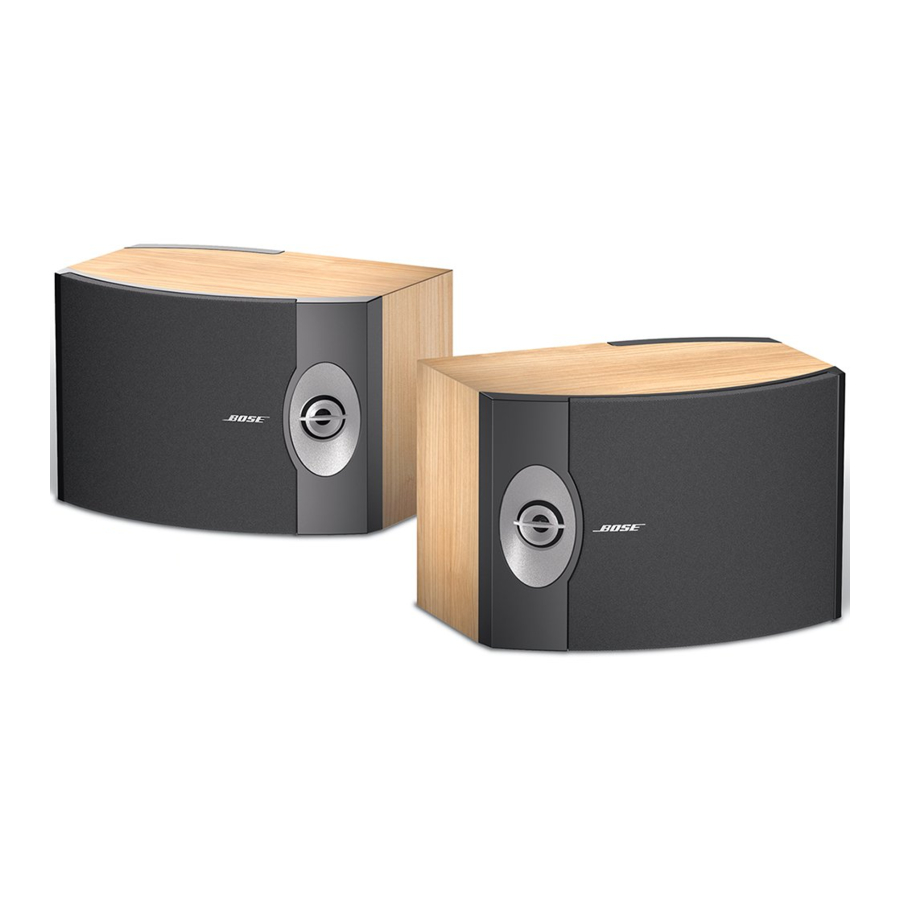
DISASSEMBLY/ASSEMBLY PROCEDURES
Note: Refer to figure 3 for the following
procedures.
1. Grille Removal
1.1 Grasp the top and bottom edges of the
grille (12) and pull off the grille.
2. Grille Replacement
2.1 Align the grille (12) so that the Bose
logo (11) is right side up on the tweeter
side of the cabinet and push it into place.
3. Woofer Removal
3.1 Perform procedure 1.
3.2 Remove the four screws (13) that
secure the woofer (14) to the cabinet.
3.3 Lift the woofer out and cut the wires as
close to the terminals as possible.
4. Woofer Replacement
4.1 Strip the wires and connect the wires as
shown in figure 1. The red wire to the single
center terminal. The black wire to the right
side double terminal (looking at the woofer
magnet side down). The orange and green
wires to the left double terminal. The
capacitor is connected to the far left and
right terminals.
4.2 Secure the woofer (14) to the cabinet
using four screws (13).
4.3 Perform procedure 2.
5. Front Tweeter Removal
5.1 Perform procedures 1, 3.2 and lift the
wooter out of the cabinet, but do not cut the
wires.
5.2 Using a 1/4 inch socket, remove the
screw (6) and bracket (7) that secures the
tweeter (8) to the cabinet.
5.3 Lift the tweeter out of the cabinet and
cut the wires as close to the terminals as
possible.
6. Front Tweeter Replacement
6.1 Strip the wires and connect the red
wire to the positive (+) terminal and the
black wire to the negative (-) terminal.
Dress or twist the wires to prevent buzzes.
®
6.2 Place the tweeter (8) into the cabinet
and secure it using the tweeter bracket (7)
and screw (6).
6.3 Perform procedures 4.2 and 2.
7. Rear Tweeter Removal
7.1 Perform procedures 1, 3.2 and lift the
woofer out of the cabinet, but do not cut the
wires.
7.2 Using a 1/4 inch wrench, remove the
screw (1) and bracket (2) that secures the
tweeter (3) to the cabinet.
7.3 Lift the tweeter out of the cabinet and
cut the wires as close to the terminals as
possible.
orange
green
Figure 1. Woofer Wiring Configuration
3
red
black

