Daikin R32 Split Series Посібник з монтажу - Сторінка 7

Переглянути онлайн або завантажити pdf Посібник з монтажу для Вентилятор Daikin R32 Split Series. Daikin R32 Split Series 16 сторінок. R32 split series
Також для Daikin R32 Split Series: Посібник з монтажу (17 сторінок), Посібник з монтажу (16 сторінок), Посібник з монтажу (16 сторінок), Посібник з монтажу (16 сторінок), Посібник з монтажу (17 сторінок), Посібник з монтажу (16 сторінок), Посібник з монтажу (20 сторінок), Посібник з монтажу (14 сторінок), Посібник з монтажу (14 сторінок), Посібник з експлуатації (16 сторінок), Посібник з експлуатації (16 сторінок), Посібник з експлуатації (8 сторінок), Посібник з монтажу (17 сторінок), Посібник з монтажу (16 сторінок), Посібник з монтажу (20 сторінок), Посібник з монтажу (20 сторінок), Посібник з монтажу (16 сторінок), Посібник з монтажу (16 сторінок), Посібник з монтажу (14 сторінок), Посібник з монтажу (14 сторінок), Посібник з монтажу (17 сторінок), Посібник з монтажу (20 сторінок), Посібник з монтажу (13 сторінок)
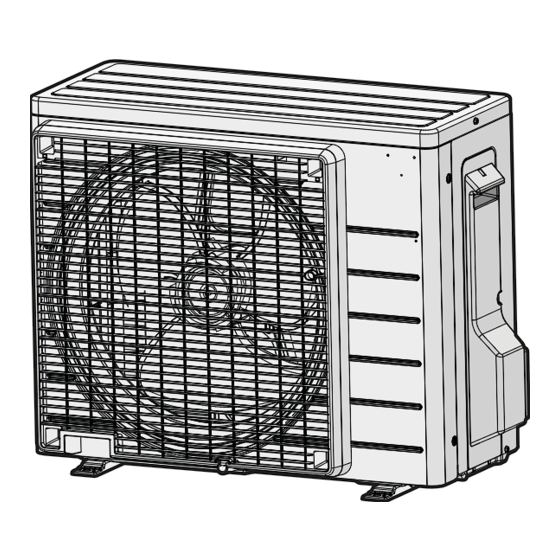
Daikin R32 Split Series Посібник з монтажу
2.

Drilling a wall hole and installing wall embedded pipe

WARNING
For metal frame or metal board walls, be sure to use a wall embedded pipe and wall hole cover in the feed-through hole to
prevent possible heat, electric shock, or fire.
• Be sure to caulk the gaps around the pipes with caulking material.
(to prevent condensation caused by intrusion of air from outside or within
the wall)
1) Drill a feed-through hole with a φ2-9/16 inch (65mm) (for 09/12 class),
φ3-1/8 inch (80mm) (for 18/24 class) diameter through the wall at a
downward angle toward the outside. (to prevent water leakage)
2) Insert a wall embedded pipe into the hole.
3) Insert a wall hole cover into wall pipe.
4) After completing refrigerant piping, wiring, and drain piping, caulk the
pipe hole gap with putty.
3.

Installing the indoor unit

CAUTION
When unpacking and installing the product, do not strongly press the flaps.
(The flap shafts may become deformed.)
In the case of bending or curing refrigerant pipes, keep the following precautions in mind. Abnormal sound may be generated
if improper work is conducted.
• Do not strongly press the refrigerant pipes onto the bottom frame.
• Do not strongly press the refrigerant pipes on the front grille, either.
3-1. Right-side, right-back, or right-bottom piping
1) Attach the drain hose to the underside of the refrigerant
pipes with adhesive vinyl tape.
2) Wrap the refrigerant pipes and drain hose together with
K
an
insulation tape.
3) Pass the drain hose and refrigerant pipes through the wall hole, then
position the indoor unit on the
markings at the top of the indoor unit as a guide.
4) Open the front panel, then open the service lid.
(Refer to "Service lid" on page 4.)
5) Pass the inter-unit wire from the outdoor unit through the feed-through wall hole
and then through the back of the indoor unit. Pull them through the front side.
Bend the ends of cable tie wires upward for easier work in advance. (If the inter-
unit wire ends are to be stripped first, bundle wire ends with adhesive tape.)
6) Press the bottom frame of the indoor unit with both hands until it is firmly caught
A
by the
mounting plate hooks. Make sure that the wires do not catch on the
edge of the indoor unit.
English
A
mounting plate hooks, using the
Inside
Wall embedded pipe
(field supply)
Wall hole cover
(field supply)
Even if a wall hole cover is
not used, caulk both the
outdoor and indoor sides
with putty.
Do not strongly press the flaps.
Remove pipe port
cover here for
right-side piping.
Right-side piping
Right-back piping
Remove pipe port
Right-
Bind refrigerant pipe and
cover here for
bottom
drain hose together with
right-bottom piping.
adhesive vinyl tape.
piping
Mounting plate
A
Hang indoor unit's hook here.
Outside
Caulking
(field supply)
Mounting
A
plate
Inter-unit
wire
6