concept 2 DYNO Інструкція з монтажу Посібник з монтажу - Сторінка 9
Переглянути онлайн або завантажити pdf Інструкція з монтажу Посібник з монтажу для Фітнес-обладнання concept 2 DYNO. concept 2 DYNO 12 сторінок.

16a. Route the Monitor Cable through the center
hole in the Monitor Assembly.
16c. Plug the wire into the Monitor.
17b. Route the free end of the coiled cable through
the fitting. Re-attach the Fitting to the Flywheel
Assembly and connect the two plugs.
11/01
16b. Attach the Monitor Assembly to the top of the
Mast using the two 1/4" by 21/2" screws and
two 1/4" nuts. It doesn't matter which way you
insert the bolts.
17a. Remove the Strain Relief Fitting on the bottom
of the monorail extension of the Flywheel
Assembly.
Pull Side Seat Back
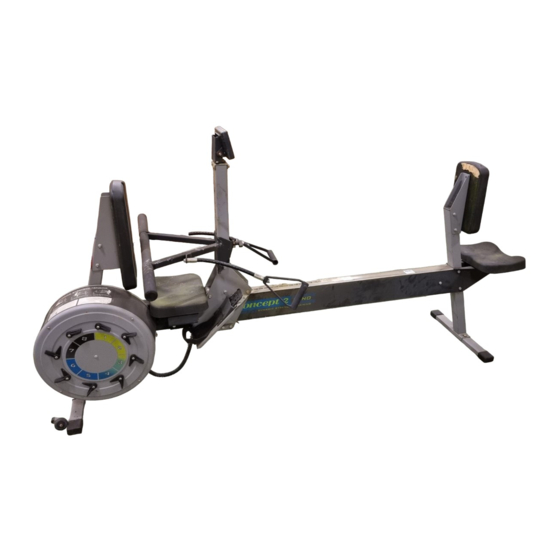
18. Assemble the Seat Backs to the Seat Back
Brackets. Use two 3/8 " by 7/8" screws for each
Seat Back. Note that the more rounded end of
the Seat Back is the top.The height of the seat
back can be adjusted by the choice of mounting
holes used. We suggest starting with the middle
setting on the pull side, and the highest setting
(lowest holes) on the push side. Reposition the
seat backs according to the user's height if
necessary.
7
Push Side Seat Back
