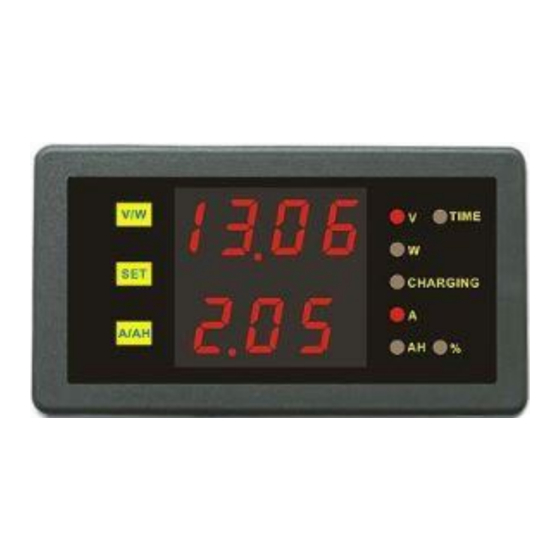
Elite Element DCM-120100C Інструкція з експлуатації - Сторінка 3
Переглянути онлайн або завантажити pdf Інструкція з експлуатації для Вимірювальні прилади Elite Element DCM-120100C. Elite Element DCM-120100C 5 сторінок. Multi-function panel meter

• Save the settings by pressing the:
- SET button to step the debug menu through to save-settings (ES),
- V/W button to change the display to -y- (Yes), and
- SET button to confirm the selection.
• Repeat the calibration procedure 2 or 3 times to ensure an accurate result.
Calibration of High and Zero Current Readings:
1. Connect a load to the battery to cause a current to flow at a value close to the
maximum that you expect to measure with the panel meter, for example 80A.
2. Display the battery current continuously with a separate calibrated ammeter.
3. Using the SET button, step to the second item of the debug menu.
4. The LED (A) to the right of the panel meter will light up.
5. The three-digit bottom line of the display will show the current reading in Amps.
6. If the reading is the same as on the calibrated ammeter, then go to step 11.
7. If the reading differs from the calibrated ammeter then adjust the panel meter.
8. Press the V/W button to increase the reading, or
9. Press the A/AH button to reduce the reading.
10. Save the settings by pressing the:
- SET button to step the debug menu through to save-settings (ES),
- V/W button to change the display from –n- (No) to -y- (Yes), and
- SET button to confirm the selection.
11. Remove the load from the battery.
12. Ensure that the calibrated ammeter displays 0.00 Amps.
13. Repeat steps 2 to 10, then 1 to 10, until high and zero currents both read correctly.
Setting the Rated Battery Capacity
• Determine the rated capacity of the battery, expressed in Amp-hours, eg 100 Ah.
• Using the SET button on the panel meter, step to the third item of the debug menu.
• The LED labelled AH, to the right of the panel meter, will light up.
• The bottom line of the numerical display will show the battery capacity (Ah).
• If the reading is the same as the rated battery capacity, then quit debug mode.
• If the reading differs from the rated battery capacity then adjust the meter.
• Press the V/W button to increase the reading to the rated value, or
• Press the A/AH button to reduce the reading to the rated value.
• Save the settings by pressing the:
- SET button to step the debug menu through to save-settings (ES),
- V/W button to change the display from –n- (No) to -y- (Yes), and
- SET button to confirm the selection.
Save settings
• This enables settings made in the debug menu items V, A and AH to be saved.
• Using the SET button, step to the fourth item of the debug menu.
• The LED display will show "ES" on the top line and "-n-" on the bottom line.
• Press the V/W button to select "-y-" (Yes), or
• Press the A/AH button to select "-n-" (No).
• Save the settings by pressing the SET button to confirm the -y- or –n- selection.
- 3 -
