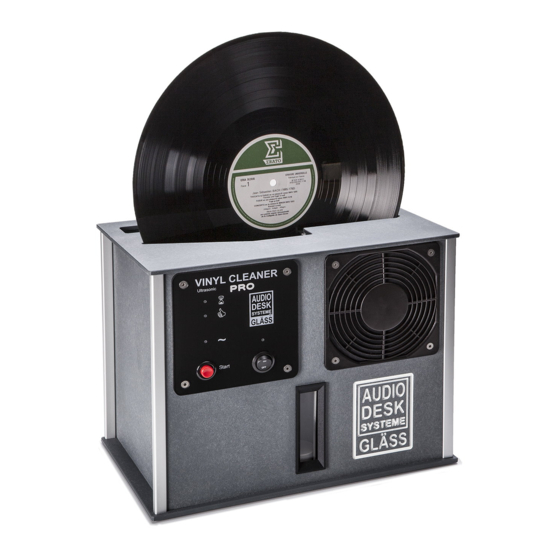
Audiodesksysteme Glass Vinyl Cleaner PRO Інструкція з експлуатації Посібник з експлуатації - Сторінка 9
Переглянути онлайн або завантажити pdf Інструкція з експлуатації Посібник з експлуатації для Ультразвуковий очищувач ювелірних виробів Audiodesksysteme Glass Vinyl Cleaner PRO. Audiodesksysteme Glass Vinyl Cleaner PRO 13 сторінок.
Також для Audiodesksysteme Glass Vinyl Cleaner PRO: Інструкція з експлуатації Посібник з експлуатації (14 сторінок)

2. Preparation
(All positions refer to the numbered control elements see page: 2)
The VINYL CLEANER PRO should be positioned on a level surface. The level indicator (8)
on the top of the apparatus can be used to check this.
Check that sufficient cleaning liquid (6) and the moisture filter are in place. The fluid dilter
should be gently pushed all the way down in the filter chamber.
Power needs to be applied via the separate power supply (10): put the plug into the socket
(for voltages see technical data) and the round plug (24V) into the back of the apparatus (9).
Turn the apparatus on via the main switch (5) and check that the LED above the switch lights up.
3. Routine Operation
Switch the apparatus on using the main switch. The LED above the switch will show that the apparatus
is ready for use. Insert the disc to be cleaned into the apparatus from above pressing down lightly
until a slight resistance can be felt. No significant force should be used. Afterwards turn the disc slightly
counter-clockwise so that the two white wiper lips are bent upwards.
Briefly press start button (4). There follows an acoustic signal and the yellow LED (1) shows the
start of the cleaning process. Should you keep the start button pressed longer at the beginning you
will hear additional acoustic signals depending on the length of time the button remains pressed.
Each signal represents 1 minute of main cleaning duration (a maximal of 5 wash cycles are possible).
As soon as the green OK lamp (2) lights up the cleaning and drying process is completed and the
cleaned LP can be removed.
At the same time a short acoustic signal is heard.
If the record is still wet or there are some water droplets on the surface you can repeat the drying process.
Press and hold the start button (4) until you hear 6 beeps. After 6 beeps the drying process will start again.
(Be sure to press and hold the start button (4) until the drying process begins. Otherwise the cleaning
process inlcuding washing starts again.)
4. Changing the cleaning liquid
Approximately 100 discs can be cleaned with one batch of cleaning liquid. This will vary
depending on how well the lp´s you are cleaning have been maintained. After this the fluid
needs to be changed.
Position the drain plug (11) at the rear of the machine over a sink and un-screw the drain plug.
The cleaning liquid exits from this opening. Once this is complete replace the plug.
New cleaning liquid should be refilled,; this means 4,5 L of distilled water should be tipped into
the top of the machine (7) and one of the supplied vials of cleaning agent added. The level of
the liquid is indicated by the white float (6), which should touch the top edge of the level-indicating
window after refilling. Air needs to be bled out of the pumps each time the cleaning solution is
changed. To do so simply let the program run once without inserting a disc.
Regardless the number of LP's which have been cleaned,
change the cleaning liquid after 4 weeks. If the machine is
not used for a longer period, the cleaning fluid should be
removed and the machine stored in a dry area.
Picture 4:
Page 3
View of the level-indicating window
