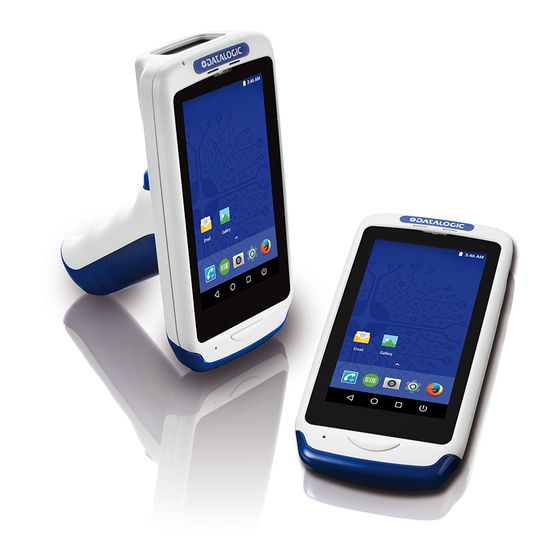
Datalogic JoyaTouch Посібник із швидкого старту - Сторінка 2
Переглянути онлайн або завантажити pdf Посібник із швидкого старту для Сенсорні термінали Datalogic JoyaTouch. Datalogic JoyaTouch 2 сторінки. 3-slot cradle
Також для Datalogic JoyaTouch: Посібник з усунення несправностей (10 сторінок), Посібник із швидкого старту (4 сторінок), Посібник з безпеки та регулювання (2 сторінок)

Battery Installation
To install the battery pack, follow the steps below:
1.
Handheld Models
2.
Handheld Models
3.
Handheld Models
4.
Handheld Models
Required torque of the screws is 35 cNm.
NOTE
The battery pack is not initially fully charged. After installing the battery, charge it with the 3-slot
cradle.
There are two options to connect the cradle to the power supply: fast charge and standard charge.
Fast Charge
The fast charge connection allows to power one cradle with one power supply.
Plug the power supply cable into the power connector on the back of the cradle as shown in the figure
below:
Gun Models
Visible Display
Standard Charge
The standard charge connection allows to power two cradles with one power supply.
To connect a second cradle use the JOYA TOUCH Cradle Power Jumper, available as optional accessory
(P/N 91ACC0049).
1. Connect the first cradle to the second cradle using the power jumper.
2. Connect the power supply to the first cradle.
Gun Models
Charge the battery for a minumum of 4 hours.
NOTE
For further information on the JOYA TOUCH 3-Slot Cradle, refer to the JOYA TOUCH 3-Slot
Cradle Quick Start Guide, included in the cradle's box, and to the JOYA TOUCH 3-Slot Cradle
Installation Guide, downloadable from our website www.datalogic.com.
NOTE
Gun Models
Synchronize Your Device with the PC
Set up Synchronization using Windows Mobile® Device Center
Windows Mobile® Device Center can be downloaded from Microsoft website
only compatible with Windows Vista and Windows 7; if you run Windows XP or earlier, you have to
download Microsoft ActiveSync.
You can establish a connection to your JOYA TOUCH through the USB.
To establish a partnership between the JOYA TOUCH and a host PC, start Windows Mobile® Device
Center and follow the steps below:
1. Select the "ENABLE DIRECT CONNECTION TO THE DESKTOP COMPUTER" from the JOYA TOUCH PC
connection menu.
2. Connect the JOYA TOUCH to the host PC. Windows Mobile® Device Center configures itself and
then opens.
3. On the license agreement screen, click Accept.
Gun Models
4. On the Windows Mobile Device Center's Home screen, click Set up your device.
5. Select the information types that you want to synchronize, then click Next.
6. Enter a device name and click Set Up.
When you finish the setup wizard, Windows Mobile Device Center synchronizes the device
automatically.
Charging Instructions
High Density
www.microsoft.com. It
Scanning and Imaging
Imager Data Capture
L
B
2D M
INEAR
ARCODE
Relative Size and Location of Aiming System Pattern
Radio Technologies and Frequency Bands
JOYA TOUCH incorporates the following radio technologies and supports the corresponding
frequencies, as specified below for Plus and Basic Variants:
Radio Technology
Frequency Bands
is
2.4GHz Frequency Bands:
2.412 – 2.472 MHz (EU /
Japan) 2.412 – 2.462 MHz
(USA)
WLAN IEEE 802.11a/b/g/n,
20MHz channels bandwidth
5GHz Frequency Bands:
(HT-20)
5.180 – 5.240 MHz
5.260 – 5.320 MHz
5.500 – 5.700 MHz
5.735 – 5.825 MHz (USA)
Bluetooth® V4.0 – Dual-Mode
2402-2480Mhz
Wireless Charging (Receiver)
130kHz
S
ATRIX
YMBOL
Basic
Plus Variants
Variants
FCC ID:
FCC ID:
U4GJNGWB
U4GJNGW
IC: 3862E-
IC: 3862E-
JNGWB
JNGW
X
X
X
X
X
