Datavideo DAC-2 Посібник з монтажу - Сторінка 7
Переглянути онлайн або завантажити pdf Посібник з монтажу для Монітор Datavideo DAC-2. Datavideo DAC-2 13 сторінок. Important note to make dac-2/dac-100 work with pinnacle dv500
Також для Datavideo DAC-2: Посібник з швидкого налаштування (6 сторінок), Додатковий посібник (5 сторінок), Додатковий посібник (13 сторінок)

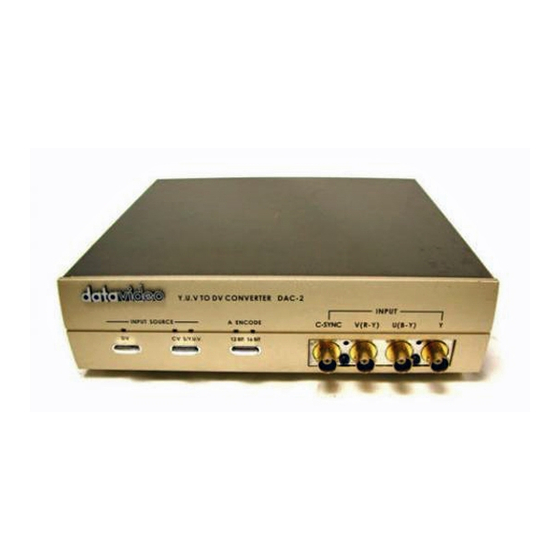
FRONT PANEL CONTROL
Select DV input:
(Decode Mode)
Press on this button
to Reset the system
and select DV input
DV input indicator
"On" as DV input
Select Analog Video input:
(Encode mode):
1. To select CV/S-Video or
YUV video input source
2. Hold down this button
and press on the "DV"
button to enable CV output
Color Bar Pattern video.
Press on the "DV" button
back to normal video out
Y.U.V. TO DV CONVERTER DAC-2
Gen-Lock (C-sync) input:
1). Typical YUV input
2). YUV + C-Sync input
There are three functions for this button (Please see Page
7 for more detailed instructions):
(NTSC MODELS ONLY)
Decode Mode: (DV input)
Mode 1 Default is the Windows 2000 mode
(This mode is primarily for Windows 2000 users.)
Please Note: The DAC-2 will always default to this mode on power up.
Mode 2 is a secondary mode that works well with MACs
(running OS X) and windows
Mode 3 is a general setting for other DV devices (Cameras,
etc.)
Encode Mode: (DV output)
Press (Do Not Hold) to select 12-bit/32KHz or
16-bit/48KHz DV audio Encode mode
The 32KHz sampling rates is most commonly used for
DV camcorders and 48KHz is commonly used for
DVD as well as DV capture cards
Note: The DAC-2 will auto detect your audio decoding (exporting back
to tape) settings of your settings of your non-linear editing software.
6
C-SYNC
V(R-Y)
U(B-Y)
Y: U:V Input
Y
