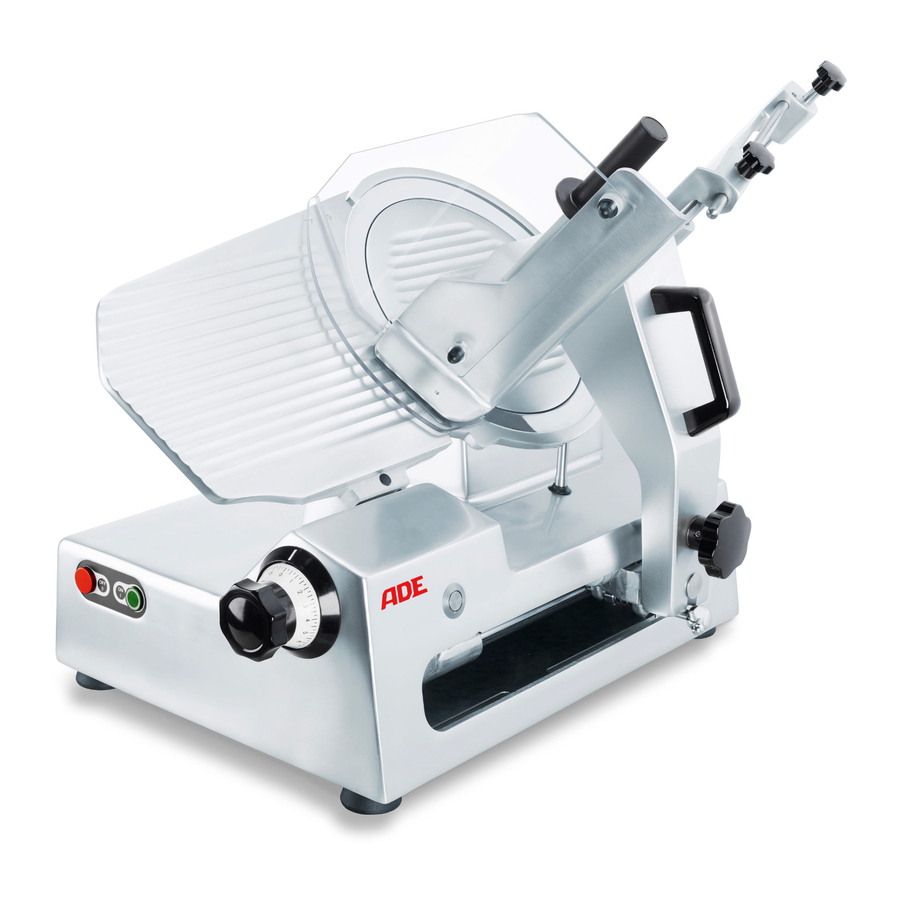
ADE Automatic-Z Посібник з експлуатації - Сторінка 6
Переглянути онлайн або завантажити pdf Посібник з експлуатації для Кухонна техніка ADE Automatic-Z. ADE Automatic-Z 20 сторінок. Gravity feed slicers with automatic transmission

3.3 Wiring
The single-phase slicer is fitted with a standard plug.
Plug the machine into the outlet, making sure that the system features an electrical overload switch. To
improve safety further, insert a 0.5 Amp fuse in the power supply box. The three-phase slicer is fitted with a
standard 16 Amp plug. Plug the machine into the suitable outlet, making sure it features an overload switch
as above.
The blade should rotate anticlockwise seen from the blade guard side.
Should the direction of rotation of the three-phase slicers be incorrect, invert two of the three wires in the plug.
Unless otherwise indicated, the three-phase slicer is always connected at 400 Volts.
Before connecting the slicer with the local electricity grid make sure that electrical indications
of identification plate and local electricity are the same.
3.4 Operation
Use the slicer as it was designed to be used. Never push the product towards the blade by hand. The product
carriage is tilted so as to enable the product to slide towards the blade under its own weight.
Keep hands well away from the blade and use the relevant handle to move the product
carriage safely back and forth.
3.5 Operation in automatic mode
In the Automatic Gravity models with Gear Drive, the product carriage can be operated in automatic mode.
Said mode can be enabled or disabled by rotating lever "Z" slightly, as indicated in fig.5.
This operation must always be performed with the machine switched off.
5.
CONTROLS AND SAFETY DEVICES
4.1 Controls
The Gear Drive Gravity slicers are switched on and off electrically by means of two buttons, I (start) coloured
green and O (stop) coloured red. Both feature a white lamp which indicates when the blade is rotating.
The machine features a safety switch in the blade guard connected with a no voltage relay.
Every time the supply voltage is cut off, the green button I (start) must be pressed to start the machine up
again.
4.2 Mechanical safety devices
-
With the exception of the actual cutting section, the blade is totally protected by an irremovable guard
which can't be removed.
-
The product carriage can only be removed if the slice assembly covers the blade and the graduated knob
is set to "0" (zero).
-
The slice assembly can only be opened (using the graduated knob) if the product carriage is secured in its
normal operating position.
-
The blade can only be removed using the blade-removal tool supplied.
-
None of the safety devices can be removed; dismantling or tampering with them would make the machine
unsafe, and result in the manufacturer no longer being responsible for any accidents.
4.3 Testing
-
Make sure all the slicer components are assembled properly.
-
Check the handwheel securing the blade guard is locked in place.
-
Press the green start button and the red stop button to check the machine can be switched on and off.
-
Check the sliding of the product carriage and product press.
-
Check th e sharpening device works properly.
-
Check the opening of the slice assembly.
-
Make sure the product carriage can only be disassembled with the graduated knob set to zero, and that
said knob remains locked in place after disassembly.
If there are any hints for defects, stop the machine immediately, sign it with "DEFECT" and call
your service partner.
5
Automatic_Automatic-Z-200626-Rev014-UM-en
