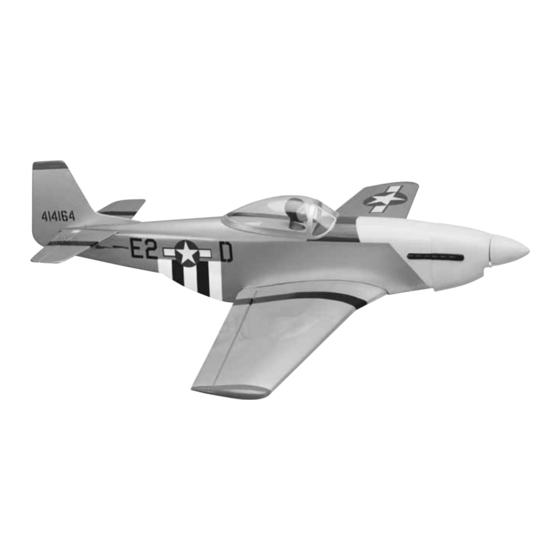
GREAT PLANES COMBAT MUSTANG Combat P-51 ARF Інструкція з експлуатації - Сторінка 11
Переглянути онлайн або завантажити pdf Інструкція з експлуатації для Іграшка GREAT PLANES COMBAT MUSTANG Combat P-51 ARF. GREAT PLANES COMBAT MUSTANG Combat P-51 ARF 20 сторінок.

3. Slide the pushrod wire into the hole in the side of the
fuselage. Position a nylon control horn onto the elevator.
Mark the location of the screw holes. Then drill a 5/64"
[2mm] hole on the marks, drilling through the elevator. Install
the horn using two 2 x 19mm screws and the nylon plate.
Refer to this picture for the next three steps.
4. Insert the elevator servo into the servo tray. Using the
servo as your guide, drill a 1/16" [1.6mm] hole through the
servo tray for each of the mounting screws. Remove the
servo from the tray. Insert and then remove a servo
mounting screw (included with your servo) from each of the
holes you have drilled. Apply a couple of drops of thin CA
into the holes to harden the threads. When the CA has
cured, install the servo into the servo tray using the
hardware provided with your servo.
5. Install the screw-lock pushrod connector into the
last hole of the servo arm. Tighten it to the servo arm with a
washer and knurled nut. Slide the pushrod into the
connector. Center the servo arm and elevator. Tighten the
set screw against the pushrod wire. Cut off the excess
pushrod wire.
Install the Engine, Fuel Tank
& Throttle Servo
1. Assemble the fuel tank as shown. If you will be using
a fuel valve for filling the tank rather than filling the tank by
removing the line from the carburetor, install it in the fuel line
following the instructions included with the valve. Install the
tank into the fuselage, feeding the lines through the hole in
the firewall.
11
