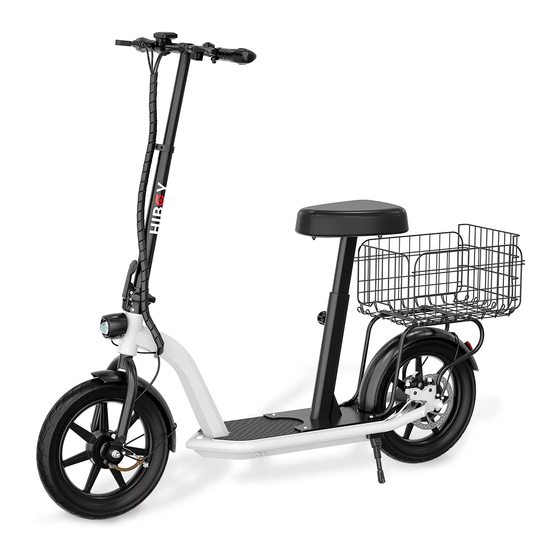
Hiboy ECOM 14 Посібник користувача - Сторінка 5
Переглянути онлайн або завантажити pdf Посібник користувача для Скутер Hiboy ECOM 14. Hiboy ECOM 14 15 сторінок. 14" electric scooter
Також для Hiboy ECOM 14: Посібник користувача (11 сторінок)

4. Assembly and Set up
Before you begin: Remove contents from box. Remove the separators that protect the components from damage during shipping.
Inspect the contents of the box for scratches in the paint, dents, or kinked cables that may have occurred during shipping. Because
the electric scooter was partially assembled and packed at the factory, there should not be any problems, even if the box has a few
scars or dents.
MAKE SURE POWER SWITCH IS TURNED "OFF" BEFORE CONDUCTING ANY ASSEMBLY OR MAINTENANCE PROCEDURES.
Hiboy recommends assembly by an adult with experience in bicycle mechanics.
Attaching the Handlebars
Unfold the Scooter
Required Tools: 5 mm Allen Wrench (included)
Open the folding lock
1. Loosen the screw on Top of T-tube
2. Put the handle bar on(the thread
part should be in the middle)
Need Help? Please search "Hiboy us" on Youtube website to find our Channel. You can watch the Installation video
of ECOM 14. Or contact Hiboy after-sale team by email: [email protected].
3. Tighten the screw
Note:Please lock the brake cables with
the black latch on the T-tube (to prevent
the cables clutter)
6
Attaching the Front Wheel
Required Tools:16mm Wrenches*2(Included)
1.Remove axle nuts (A) and washers (B)
4.The drum brake is aligned with the
middle of the front wheel
from the axle bolt (C)
2.Pull axle bolt(C) out of the front fork
Note: the drum brake cable should be
placed in the front fender connecting rod
3.Discard the black latch(D)
Need Help? Please search "Hiboy us" on Youtube website to find our Channel. You can watch the Installation video
of ECOM 14. Or contact Hiboy after-sale team by email: [email protected].
5.Insert the front wheel into the
front fork
6.Insert the axle bolt (C) into the middle
hole of drum brake, tighten the axle nuts
(A) and washers (B) on two sides
7
