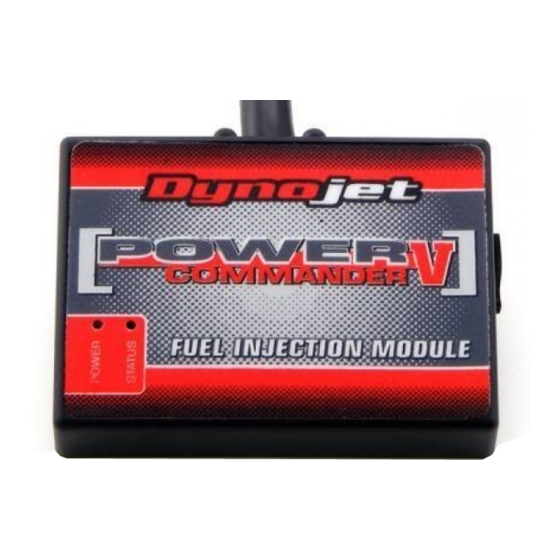
Dynojet 450f Інструкція з монтажу - Сторінка 4
Переглянути онлайн або завантажити pdf Інструкція з монтажу для Аксесуари для мотоциклів Dynojet 450f. Dynojet 450f 4 сторінки. 2012-2014 kawasaki kx450f

FIG.D
Unplug
FIG.E
FIG.F
Ground
17-038
www.powercommander.com
6
Unplug the stock Throttle Position Sensor connectors (Fig. D).
This is a 3-pin connector pair located rear of the throttle body. It is accessed
easiest from the right hand side of the bike.
The Figure D picture was taken from the left side of the bike, looking inward
between the frame and the airbox.
7
Plug the PCV wiring harness in-line of the stock TPS connectors (Fig. E).
8
Remove the upper bolt that holds the ignition coil to the frame. Use this bolt to
secure the PCV ground wire with the small ring lug at this same location on the
frame (Fig. F).
9
Reinstall the fuel tank, seat, and the number plate. Make sure the fuel tank
does not pinch the PCV wiring harness when reinstalled securely.
2012-2014 Kawasaki KX450F - PCV - 4
