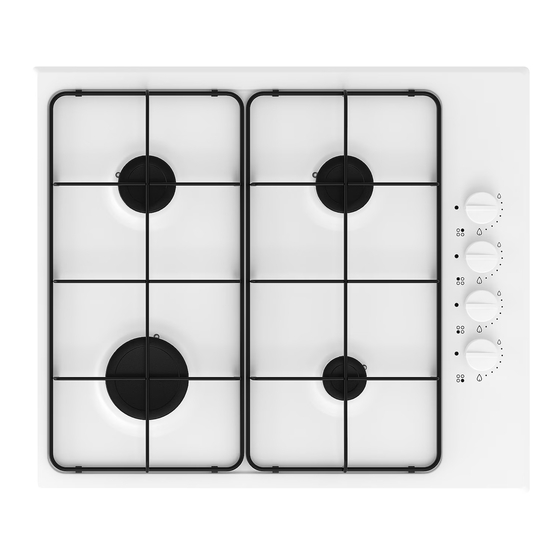
IKEA Lagan HGA4K Посібник користувача - Сторінка 22
Переглянути онлайн або завантажити pdf Посібник користувача для Варильна поверхня IKEA Lagan HGA4K. IKEA Lagan HGA4K 28 сторінок. Ikea hobs instruction manual
Також для IKEA Lagan HGA4K: Посібник користувача (16 сторінок), Інструкція з експлуатації (24 сторінок), Інструкція з експлуатації (20 сторінок), Інструкція з експлуатації (24 сторінок), Інструкція з експлуатації (16 сторінок)

ENGLISH
Warning! Once the installation is
complete, check the perfect seal of every
pipe fixing. Use soapy water, never flame.
Electrical connection
Before connecting, check that the nominal volt-
age of the appliance stated on the rating
plate, corresponds to the available supply
voltage. Also, check the power rating of the
appliance and ensure that the wire is suitably
sized to suit the appliance power rating (refer
to the Technical data chapter).
The rating plate is located on the lower casing
of the hob.
The appliance is supplied with a connection
cable. This has to be provided with a proper
plug, able to support the load marked on the
identification plate. To connect the plug to the
cable, follow the recommendation given in fol-
lowing figure.
Replacement of the connection cable
The replacement of the connection cable re-
quires the specific equipment of a technician.
In this case, only cable type H05V2V2-F T90
must be used. The cable section must be suit-
able to the voltage and the working temper-
ature. The yellow/green earth wire
approximately 2 cm longer than the brown (or
black) phase wire
2
1
(previous figure).
The plug has to be fitted in a proper socket. If
connecting the appliance directly to the elec-
tric system, it is necessary that you install a
double pole switch between the appliance
and the electricity supply, with a minimum gap
of 3 mm between the switch contacts. The dou-
ble pole has to be of a type suitable for the
required load in compliance with the current
rules.
The connection cable has to be placed in order
that, in each part, it cannot reach a 90 °C tem-
perature. The blue neutral cable must be con-
nected to the terminal block marked with "N".
The brown (or black) phase cable (fitted in the
terminal block contact marked with "L") must
always be connected to the live phase.
Gas setting conversion
This model is designed for use with natu-
ral gas but can be converted for use with
butane or propane gas providing the correct
injectors. The injectors not supplied with the
appliance have to be ordered from After Sales
Service (refer to the Service chapter).
For data concerning injector replacement, see
chapter "Technical data"
Warning! Conversion or replacement
1
can only be performed by a registered
installer.
To replace injectors:
2
1. Remove pan support.
2. Remove burner cap and crown.
3. With a socket spanner 7 unscrew and re-
move the injectors, replace them with the
ones required for the type of gas in use.
4. Reassemble the parts, following the same
procedure backwards.
Important! Replace the rating label (placed
near gas supply pipe) with relevant one for the
new type of gas supply before sealing the
appliance. If the appliance is already sealed
please stick it directly on the user manual
must be
booklet after Technical data chapter close to
the rating plate drawing.
You can find this label in package sup-
plied with appliance
22
