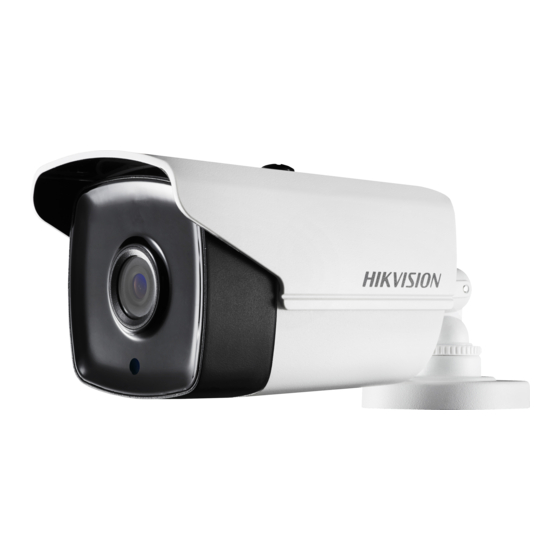
HIKVISION DS-2CE56D8T-IT3E Посібник із швидкого старту - Сторінка 12
Переглянути онлайн або завантажити pdf Посібник із швидкого старту для ВІДЕОРЕЄСТРАТОР HIKVISION DS-2CE56D8T-IT3E. HIKVISION DS-2CE56D8T-IT3E 17 сторінок. Bullet & turret camera
Також для HIKVISION DS-2CE56D8T-IT3E: Посібник користувача (15 сторінок), Посібник користувача (17 сторінок)

: If the DVR detects the power consumption of the PoC camera is higher than the allowed
maximum power of DVR PoC module, it will stop power supply to the camera, and the camera status
becomes grey.
Step 3 Check the connected AF or AT camera number and the connectable camera number.
Only Hikvision PoC camera is supported.
The maximum connectable AT/AF camera number varies with different models.
Do not unplug or plug the PoC camera if it is powered by the external power supply.
3.9 Network Settings
3.9.1 Configuring General Settings
Purpose
Network settings must be properly configured before you operate DVR over network.
Step 1 Go to Menu > Configuration >
Network > General.
Step 2 Configure the general parameters of
network.
Step 3 Click Apply to save the settings.
3.9.2 Configuring Hik-Connect
Purpose
Hik-Connect provides the mobile phone application and the service platform page (www.hik-connect.com) to
access and manage your connected DVR, which enables you to get a convenient remote access to the
surveillance system.
The Hik-Connect can be enabled via operation on SADP software, GUI and Web browser. We introduce the
operation steps on GUI in this section.
Step 1 Go to Menu > Configuration > Network >
Platform Access.
Digital Video Recorder Quick Start Guide
11
Figure 3-9 Network Settings
Figure 3-10 Hik-Connect Settings
