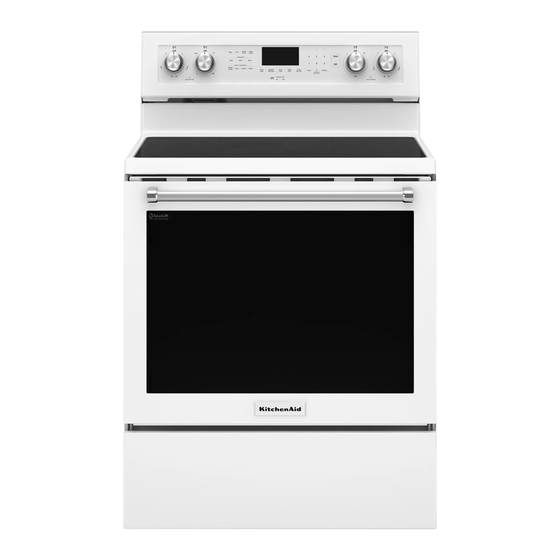
KitchenAid YKFEG500EWH Посібник користувача - Сторінка 5
Переглянути онлайн або завантажити pdf Посібник користувача для Діапазони KitchenAid YKFEG500EWH. KitchenAid YKFEG500EWH 18 сторінок. Freestanding
Також для KitchenAid YKFEG500EWH: Посібник із швидкого старту (2 сторінок)

STORAGE DRAWER OR WARMING DRAWER (on some
models)
Check that storage drawer or warming drawer is cool and empty
before cleaning.
Cleaning Method:
■ Mild detergent
OVEN CAVITY
Depending on your model, use AquaLift
Clean cycle regularly to clean oven spills.
Do not use oven cleaners
Food spills should be cleaned when oven cools. At high
temperatures, foods react with porcelain. Staining, etching, pitting,
or faint white spots can result.
Cleaning Method:
■ Clean cycle: See "Clean Cycle" first.
Clean Cycle
®
AquaLift
Technology is an innovative cleaning solution that
utilizes heat and water to release baked-on spills from the oven in
less than 1 hour. This new cleaning technology is a low-heat,
odor-free alternative to traditional self-cleaning options.
Allow the oven to cool to room temperature before using the Clean
cycle. If your oven cavity is above 200°F (93°C), it will appear in
the display, and the Clean cycle will not be activated until the oven
cavity cools down.
To Clean:
1. Remove all racks and accessories from the oven cavity, and
wipe excess soil. Use a plastic scraper to remove easily
removed soils
®
Technology or Self-
2. Pour distilled or filtered water onto the bottom of the empty
oven, and close the oven door.
IMPORTANT: Do not use chemicals or other additives with the
water. Do not open the oven door during the Clean cycle. The
water on the oven bottom is hot.
3. Press CLEAN or AQUALIFT SELF CLEAN and then START
on the oven control panel.
4. Allow 40 minutes for cleaning and cool down. A beep will
sound when the Clean cycle is complete.
5. Press CANCEL, CANCEL UPPER or OFF at the end of the
cycle. Cancel, Cancel Upper or Off may be pressed at any
time to stop the Clean cycle.
6. Remove the residual water and loosened soils with a sponge
or cloth immediately after the Clean cycle is complete. Much
of the initial 2 cups (16 oz [500 mL]) of water will remain in the
oven after the cycle is completed. If additional soils remain,
leave a small amount of water in the oven bottom to assist
with the cleaning.
7. If any soils remain, remove them with a non-scratch scrubbing
sponge or plastic scraper. Additional Clean cycles may be run
to help remove the stubborn soils.
IMPORTANT: Do not use oven cleaners. The use of
chemicals, including commercial oven cleaners or metal
scouring pads, may cause permanent damage to the
porcelain surface of the oven interior.
NOTES:
■ The range should be level to ensure that the entire surface
of the bottom of the oven cavity is covered by water at the
beginning of the Clean cycle.
■ For best results, use distilled or filtered water. Tap water
may leave mineral deposits on the oven bottom.
■ Before removing the residual water and loosened soils at
the end of the Clean cycle, insert a cloth or paper towel
between the lower edge of the oven door and the front
frame to keep water from spilling onto the front of the
range and the floor.
■ Soil baked on through several cooking cycles will be more
difficult to remove with the Clean cycle.
5
