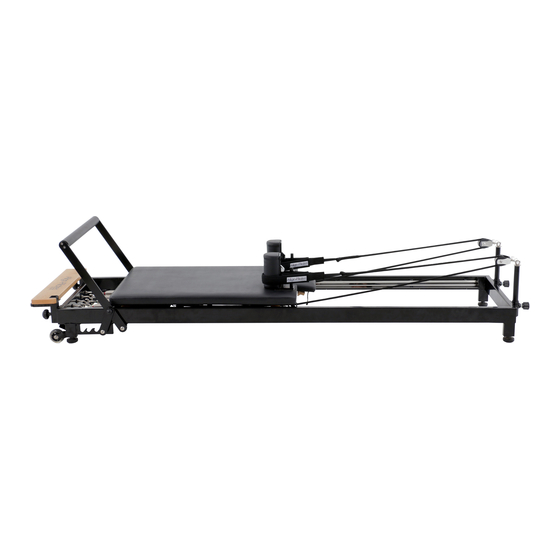
Align-Pilates H1 Reformer Інструкція з монтажу та посібник користувача - Сторінка 5
Переглянути онлайн або завантажити pdf Інструкція з монтажу та посібник користувача для Фітнес-обладнання Align-Pilates H1 Reformer. Align-Pilates H1 Reformer 10 сторінок.

Assembly
1. Unpacking the H1 reformer
Allowing for space to assemble the reformer, carefully open the box and remove the polystyrene blocks
and other packaging material. The smaller of the two boxes inside the big box contains the ancillary
components. Take this out, open and lay out the contents (leave the carriage bed in the box for now).
Warning: We recommend the H1 reformer is lifted out of its box by two people to minimise the chance of
injury due to its weight. Ensure all springs are engaged to ensure the bed does not roll back when lifting.
To attach the footbar selector bar to the footbar
adjustment arm, insert the bar through the reformer
resting on the selector gear teeth. Then, using the two
bolts with washers and Allen key provided, screw these
into the bar on either side through the hole in the footbar
adjustment arm, as in Fig.1.
1. Levelling the frame
The H1 has 4 adjustable feet to ensure the reformer is
level or it will not run smoothly. The feet are
adjusted by screwing them in or out to adjust the height.
Fig.1
Using a spirit level, adjust the feet to level the frame,
ensuring that each foot is firmly in contact with the floor. Tip: Always lower a high foot before raising a low
foot, to avoid screwing the feet out too far
Elastic retaining strap
2. Assembly of the carriage bed & attaching the ropes
Remove the carriage bed from the H1 frame and lay it
face down on a soft and dry surface, such as clean
carpet, to avoid damaging the leatherette upholstery.
Remove the elastic retaining strap and attach the x4
springs, as shown in Fig.2. Now pass the elastic retaining
strap through the eye of each of the springs and
reattach the hooks to secure the springs (Fig.2).
Fig.2
Locate the pair of rope risers with rope pulleys and the
pair of ropes (Note: each rope has an eyelet on one end). Thread the non eyelet end of each rope
through one of the rope pulleys, see Fig.3, and lay out each rope riser with rope threaded through the
pulley, at the headboard end of the bed. Thread the ropes into the carriage bed, as in Fig.4, which shows
white ropes for illustrative purposes only. Once each rope has been threaded, tie a simple "over-hand"
knot on the end of each rope, then ensure the tails are the same length - once they are pull the knots
tight. You may need to fine tune the final knot position to ensure the ropes are the same lengths. Use the
series of hooks to quickly adjust the length of each rope, as shown in Fig.4. For more details see point 8 on
page 5.
Rope Length Hook Adjusters
Fig.3
Fig.4
3
