Aqua One MariSys 240 Посібник - Сторінка 9
Переглянути онлайн або завантажити pdf Посібник для Системи фільтрації води Aqua One MariSys 240. Aqua One MariSys 240 15 сторінок.
Також для Aqua One MariSys 240: Посібник з швидкого налаштування (2 сторінок)
Set Up Instructions
5. When the aquarium is newly set up, it may
take a couple of days for the Protein Skimmer
to begin producing waste. Once the Skimmer is
functioning properly, check the settings of the
Protein Skimmer daily by viewing the amount of
bubbles in the Reaction Chamber.
A. If the bubbles are too few and there's not any
waste accumulating in the Collection Cup,
gradually open the Air Control Valve. Adjust the
screw a quarter turn and then wait 5 minutes. If
still too few, turn the screw another quarter turn.
It is best to adjust slowly to achieve the desired
level of bubbles.
B. If there are too many bubbles and the
Collection Cup is overflowing rapidly, slowly
close the Air Control Valve to achieve desired
bubble flow.
6. To further adjust and fine tune the Protein
Skimmer, loosen the Height Adjuster (26)
located at the base of the Collection Cup anti
clock-wise until it is free. Pull the Collection Cup
up.
There is a thin O-ring found directly under the
Height Adjuster. Roll the O-ring up or down
depending on the need of adjustment.
Normally the Collection Cup is raised upward to
control and firm up the layer of bubbles pushing
up through the small tube in the Collection Cup
or if the air bubbles are too strong and are
overflowing too quickly into the Collection Cup.
7. Change the wood airstone every 2 to 3
months or as needed. The size of the air
bubbles will become larger as the airstone ages
and the Protein Skimmer will become less
effective in removing wastes.
Please Note: Every time the airstone is
replaced monitor the Protein Skimmer, as the
bubble size will have changed with the new
stone and it may require adjusting.
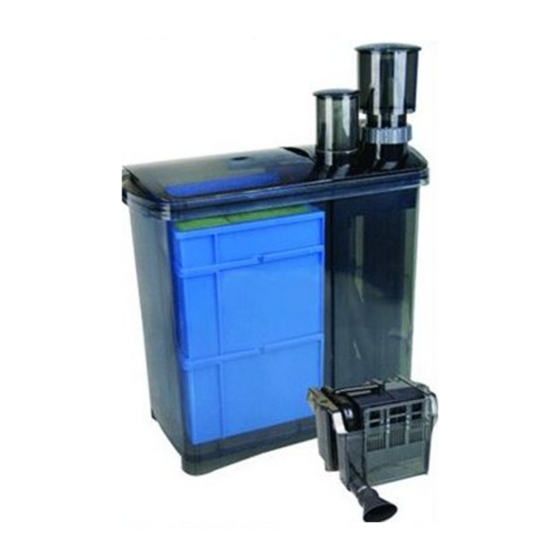
Starting the Filter
1. Ensure you aquarium is full of water.
2. Fill the Priming Chamber (27) of the Overflow
Box with water until the water begins to travel
down the Flexible Hosing and into the MariSys.
3. Remove the Media Access Lid from the
MariSys and fill the unit with water until it is
about 1cm above the Maximum water level
indicator. (28)
4. Plug in the three power cords
a. Power Head,
b. Priming Pump and
c. The Protein Skimmer Air Pump
into a standard power board. Be sure to form a
"drip loop". (Refer to page 2)
Turn the power on.
The Overflow Box will automatically start
drawing water and the MariSys will begin to fill
with water. Check for leaks at this time.
5. Check the water level in the Filter Box. If the
water level is lower than the Minimum Level,
(29) add water to bring it back up to the
Maximum level. When the water level is below
the minimum mark the Power Head will start to
draw air and propel too many air bubbles back
into the aquarium.
9