Dell Inspiron 600m Посібник з експлуатації - Сторінка 10

Переглянути онлайн або завантажити pdf Посібник з експлуатації для Ноутбук Dell Inspiron 600m. Dell Inspiron 600m 40 сторінок. Hard drive
Також для Dell Inspiron 600m: Почніть звідси. (2 сторінок), Почніть звідси. (2 сторінок), Почніть звідси. (2 сторінок), Посібник для початківців (2 сторінок), Посібник користувача (34 сторінок), Посібник з налаштування (2 сторінок), Початок роботи (2 сторінок), Посібник з налаштування (2 сторінок), Посібник з налаштування (2 сторінок), Посібник з налаштування (2 сторінок), Посібник з налаштування (2 сторінок), Посібник з налаштування (2 сторінок), Посібник з налаштування (2 сторінок), Посібник з налаштування (2 сторінок), Посібник з експлуатації (41 сторінок), Посібник користувача Media Base (26 сторінок), Посібник з експлуатації (41 сторінок), Встановлення та налаштування (38 сторінок), Швидкий старт (2 сторінок), Швидкий старт (2 сторінок), Швидкий старт (2 сторінок), Налаштування комп'ютера (2 сторінок), Посібник з експлуатації (41 сторінок), Посібник з експлуатації (4 сторінок)
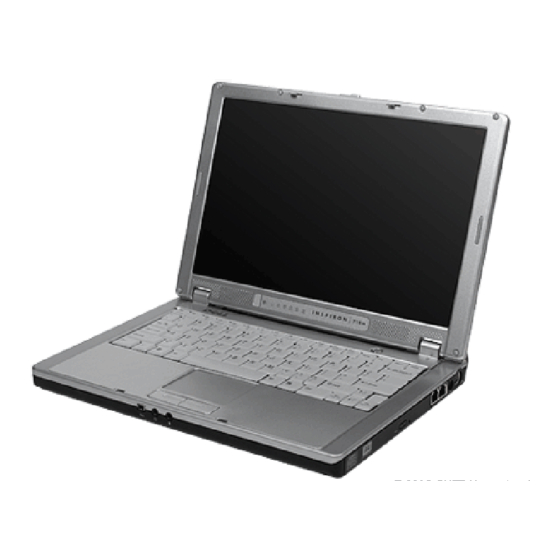
Dell Inspiron 600m Посібник з експлуатації
 
3. Place the hinge cover over the front display latches and rotate the cover down into place.
 
4. Ensure that the two securing tabs on the outer edge of hinge cover are engaged in their respective slots
NOTE:
Make sure that the main cable and the speaker cables are tucked away from the hinge before you reattach the hinge cover.
 
5. Slide the hinge caps over the display hinges and press down to snap the hinge caps into place.
 
6. Close the display.
 Removing the Display Module
 
1. Remove the battery.
 
2. Remove the keyboard.
 
3. Disconnect the black and white antenna cables from the Mini PCI Card.
NOTE:
You must detach the antenna cables from the Mini PCI Card before you remove the display module.
 
4. Loosen the two M2 x 2mm captive screws and remove the upper memory module cover.
 
5. Turn the computer over, and remove the two M2.5 x 6-mm screws from the bottom of the computer.
1 M2.5 x 6-mm screws (2)
 
6. Remove the two M2.5x 6-mm screws from the back of the computer.
1 M2.5 x 6-mm screws (2)
 
7. Turn the computer over and open the display 180 degrees.
 
8. Disconnect the speaker cable connector.
 
9. Gently pull on the display cable tab and disconnect the display cable on the left side of the unit.
 
10. Disconnect the display cable on the right side of the unit.
NOTE:
Make sure that the antenna cables are disconnected from the Mini PCI Card before removing the display module.
 
11. Disconnect the antenna cables and make note of the path.