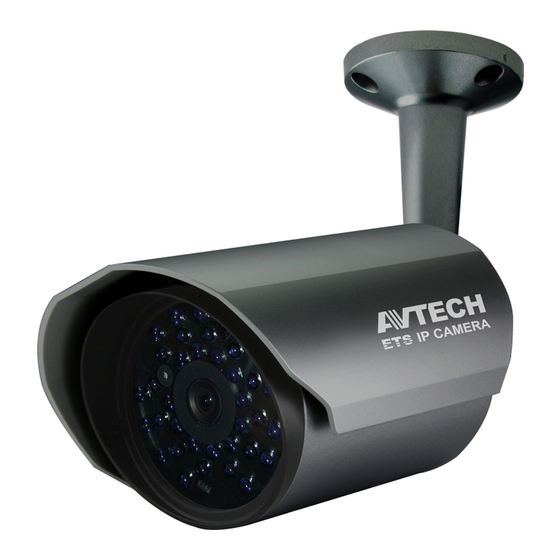
Avtech AVM457A Посібник з монтажу - Сторінка 3
Переглянути онлайн або завантажити pdf Посібник з монтажу для IP-камера Avtech AVM457A. Avtech AVM457A 4 сторінки.

ADJUST FOCAL LENGTH & FOCUS - MANUALLY
FOR SELECTED VARI-FOCAL MODELS ONLY
Manually: For the vari-focal camera that its front cover could be removed.
Note: The appropriate temperature for focus adjustment is 0˚C ~ 40˚C, and prevent adjusting in moisture environment.
Step1: Make sure the camera power is on.
Then, with the front cover removed, remove two bags of desiccants (if any) placed in the camera.
Note: Remember where these bags were placed. New desiccants will be placed into the camera later in Step3. The desiccant is optional, only needed in certain
types of IR Bullet cameras.
Step2: Find two handles on the camera as shown in
move the hand near to the lens to adjust the sharpness of the image.
Step3: (Optional) Open the new bag(s) of desiccants supplied in the package and place them in the camera within 2 minutes (as shown in
or the desiccants might absorb too much moisture in the air.
Note: If there are no spare desiccants supplied in the sales packages, please skip to Step4.
Step4: Place the front cover back and fasten it tightly.
ADJUST FOCAL LENGTH & FOCUS - REMOTELY
FOR SELECTED VARI-FOCAL MODELS ONLY
Remotely: For the vari-focal camera that its front cover could NOT be removed.
To remotely adjust focal length and focus of the camera, access the camera from Internet Explorer.
Note: The default camera IP address is 192.168.1.10, the port number is 88, and the user name and password are
both admin.
To search the IP address and port number, you could download our IP scan tool from
www.surveillance-download.com/user/m359a.swf.
In the tab of "Live View", you'll see the icons in the control panel area as below:
Zoom Tele /
/
Zoom Wide
Max Zoom Tilt /
Max Zoom Wide
/
Focus Far / Near
/
Note: You can also adjust the focal length and the focus by accessing to the NVR with PTZ controlling. For more
detail, please refer to the NVR manual.
. Move the handle near to the main board first to find the best surveillance area, and
Figure 1
Click to zoom in on the image to the largest / zoom out on
the image to its original size.
Click to zoom in / out the image.
Click to adjust the focus of the image.
Figure 2
),
INSERT A MICRO SD CARD
FOR SELECTED MODELS ONLY
Step1: With the front cover removed, find the microSD card slot in the camera.
Step2: Follow the direction in the figure below to insert the MicroSD card properly:
Note: It's recommended to use a pair of tweezers for inserting / removing MicroSD card.
The data originally saved in the micro SD card (if any) will be removed after inserting it to the camera.
The camera doesn't support hot-swapping. Please insert or remove the microSD card with power
disconnected.
Adjust focal length
Adjust image
sharpness (focus)
Figure 1
Figure 2
765z
