Dell PowerEdge R620 Посібник зі встановлення, обслуговування та усунення несправностей - Сторінка 32

Переглянути онлайн або завантажити pdf Посібник зі встановлення, обслуговування та усунення несправностей для Сервер Dell PowerEdge R620. Dell PowerEdge R620 48 сторінок. Poweredge series
Також для Dell PowerEdge R620: Посібник (11 сторінок), Посібник для початківців (12 сторінок), Інструкція з монтажу (2 сторінок), Інструкція з монтажу (2 сторінок), Посібник з портфоліо (27 сторінок), Посібник для початківців (10 сторінок)
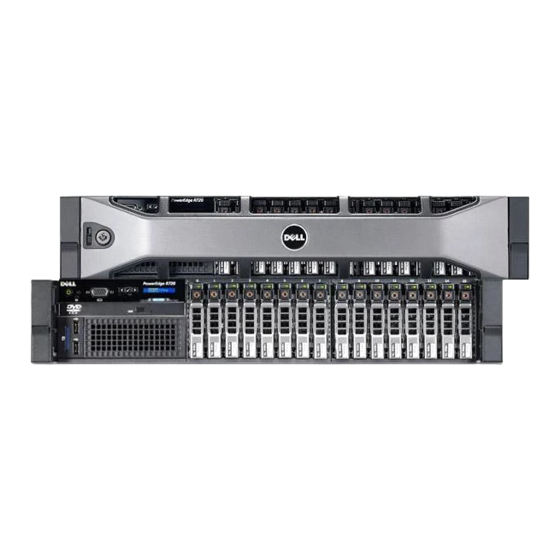
Dell PowerEdge R620 Посібник зі встановлення, обслуговування та усунення несправностей
Chapter 2: Installation

Connecting the keyboard and mouse

Connect the keyboard and mouse to the USB ports.

Connecting the monitor

1. Connect the power cord from the monitor to the UPS or wall outlet.
2. Connect the VGA cable to the VGA connection at the rear of the system and connect the
opposite end to the VGA port on the Monitor.

Connecting to external interfaces

This section describes the external interfaces connected to the computer. This section includes
the following topics:

Connecting the switch link

Connecting to the customer network
Connecting the Customer Supplied SAS Tape Drive
Connecting the switch link
The CMS computer uses TCP/IP over a local area network (LAN) at only 10/100 Mbps for a
connection to the switch. One CMS computer can collect data from several switches. To the
CMS computer, each switch represents one ACD.
You must use ethernet port 1 for this connection.
For detailed information about how to connect and administer the switch link, see Avaya Call
Management System Switch Connections, Administration, and Troubleshooting.
32
Avaya CMS Dell R720 and R620 Computer Hardware Installation
on page 32.
on page 33.
on page 33.
October 2015