3-form SimpleSpec 400.06 Wovin Wall Посібник з монтажу - Сторінка 5
Переглянути онлайн або завантажити pdf Посібник з монтажу для Внутрішнє оздоблення приміщень 3-form SimpleSpec 400.06 Wovin Wall. 3-form SimpleSpec 400.06 Wovin Wall 8 сторінок.
Ready To Go
SimpleSpec 400.06-Wovin Wall
Installation
3
Install the Grid
Carefully lift the completed grid and position on the
ceiling. Fasten with screws through the holes in the
joiners. If you have assembled your Wovin Wall in
smaller sections, screw the first section to the ceiling,
then slide the next section onto the joiner tabs and
fasten it in place as shown. Continue until all sections
are fastened.
If you have attached any optional edging you will need
to leave screws out of the joiners around the very edge.
Important: Once the entire grid is assembled within
the frame, carefully push all pieces of the grid out-
wards until all perimeter pieces of the grid are fitting
neatly inside the edging. When you are happy that the
grid has been expanded evenly over the entire area fix
it to the ceiling using the 25 mm chipboard screws in
every plastic joiner.
4
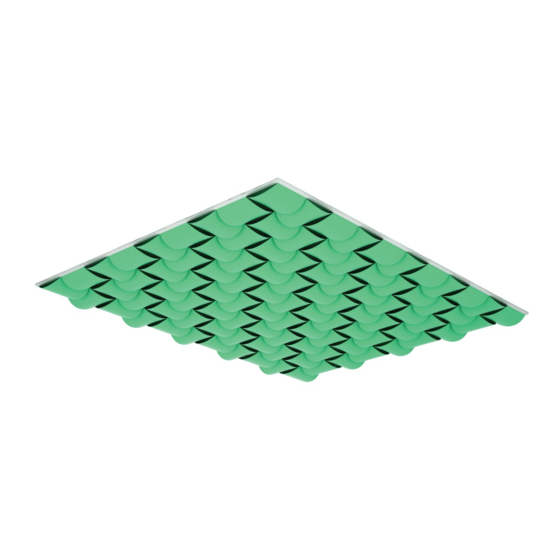
Install Tiles
a
Tiles clip into the outermost ridge of each bracket,
as shown below, alternating between horizontal and
vertical alignment.
For more information, please visit 3-form.com or call 800.726.0126
June 2018 | MAn-RTG-400-06 | ReV 002 © 2018 3form, Inc. All rights reserved.
tm
b
Alternate between horizontal and vertical tiles.
Note: Every second tile around the perimeter will
overhang the edging.
Installation Manual
5