Miller 16 CB PLUS 1107 Посібник оператора - Сторінка 8
Переглянути онлайн або завантажити pdf Посібник оператора для Аксесуари для фотоапаратів Miller 16 CB PLUS 1107. Miller 16 CB PLUS 1107 16 сторінок. Fluid head
Operating Instructions
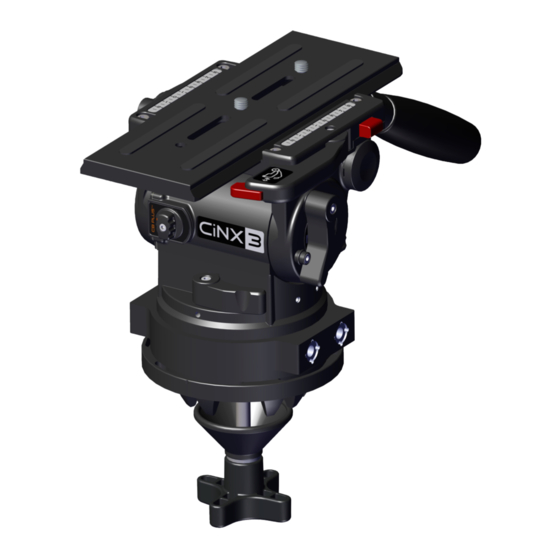
3. Camera Plate Lock Adjustment
3.1 The Camera Plate Lock is designed to secure the
CAMERA PLATE in a set position. The CiNX PLATFORM
can accept a third party (Arri type) CAMERA PLATE,
however, the Camera Plate Lock may need to be
adjusted to account for small dimensional variations
in third party CAMERA PLATES that can significantly
affect the locking function.
3.2 Pull and hold the SAFETY RELEASE PIN then pull the
SIDE LOAD LOCK LEVER outwards.
3.3 With the CAMERA PLATE in place, gently push the
SIDE LOAD LOCK LEVER towards the PLATFORM until
resistance is felt – this is the start of the locking action.
Check the position of the SIDE LOAD LOCK LEVER as
shown in (Fig. 9).
3.4 Adjustment is necessary if the SIDE LOAD LOCK LEVER
position is outside the recommended range. Follow
(Fig. 9) to determine the correct method of adjustment.
3.5 Using a 3mm Hex key unlock the LOCK SCREW
(fig. 8), then using a broad flat screw driver turn the
ADJUSTING SCREW (Fig. 8) in the direction shown
by 1/8 of a turn and re-check step 3.3, repeat 3.4 if
necessary. When adjusted correctly, the SIDE LOAD
LOCK LEVER will be smooth to operate and requires
modest effort to lock the CAMERA PLATE (Fig. 9).
3.6 Once the correct adjustment is achieved, remove the
CAMERA PLATE and tighten the LOCK SCREW (fig 8).
Locking Screw
Unlock
Lock
Platform
Safety Release Pin
8 8
Adjusting Screw
3mm Hex Key
Flat Screwdriver
Side Load Lock Lever
Fig. 8