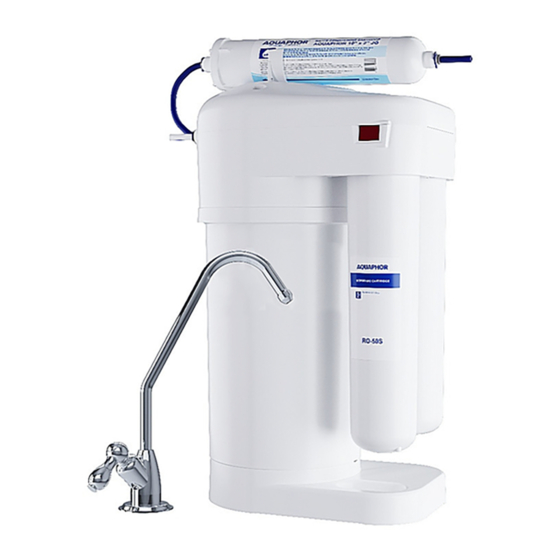
AQUAPHOR RO-70S Посібник користувача - Сторінка 6
Переглянути онлайн або завантажити pdf Посібник користувача для Системи фільтрації води AQUAPHOR RO-70S. AQUAPHOR RO-70S 13 сторінок. Drinking water machine

Installation of the water
conditioning cartridge (fig. 7)
• Install the bracket for the conditioning
cartridge on the RO-70S trim cover
and secure it with a self-tapping
screw, as shown in fig. 7a.
• Before connecting the post-filter,
remove the transport plugs installed
in the JG sockets at the input and
during the post-filter (see the
Disconnection of the JG tubes).
• Place the post-filter in the bracket by
pressing on the post-filter, as shown in
fig. 7b.
Connect the JG 1/4" blue (d 6.35 mm) L = 0.17 m inlet fitting (fig. 13) to the RO-70S body in accordance
with the diagram (fig. 2).
6. STARTING RO-70S
To start the RO-70S, it is necessary to connect the supply pipes and carry out the procedure for rinsing the
cartridges and the membrane.
Step 1. Connect the supply pipes by following the diagrams below.
The connection diagram of the tubes is shown in fig. 2.
Connection of JG tubes
Pull the locking clip (2) out from under the plastic
sleeve (1), insert the pre-wetted end of the tube (3) into
the sleeve bushing to a depth of approximately 15 mm
to the stop and install the clip (2) into place. Check the
strength of the tube (3): at an effort of 8–10 kg, the tube
should not be able to be pulled out.
Step 2. Preparation of the water purifier for operation
• Remove the lid from the water purifier by turning the three latches anticlockwise by 90 °C (Fig. 8).
• Remove the service plug (fig. 9), which is located under
the lid of the water purifier.
• Remove the shrink film from the K3 (K6) cartridge and
remove the transport plug (if any).
• Moisten the O-rings on the plugs of the cartridges
under running water.
For convenience, the stop buttons on the manifolds
have a different color. Install the filter cartridge K3 and
service plug (fig. 10) in the order indicated in Table 1.
6
Self-drilling
screw
a
Figure 7
Disconnection of JG tubes
Pull the locking clip (2) out from under the
plastic sleeve (1) and pull the tube (3) by pressing
the end of the plastic sleeve. For depressing, use
the wrench (4) to disconnect the tubes that is
included in the water purifier kit.
Figure 8
b
Figure 9
AQUAPHOR RO-70S | Owner's manual
