HP ProCurve 1600M Посібник з монтажу - Сторінка 21

Переглянути онлайн або завантажити pdf Посібник з монтажу для Перемикач HP ProCurve 1600M. HP ProCurve 1600M 28 сторінок. Redundant power supply
Також для HP ProCurve 1600M: Технічна специфікація (12 сторінок), Прочитай мене першим (8 сторінок), Посібник рецензента (27 сторінок), Додатковий посібник (2 сторінок), Додатковий посібник (2 сторінок), Посібник з монтажу (28 сторінок), Посібник з монтажу (36 сторінок), Посібник з швидкого налаштування (2 сторінок), Посібник з швидкого налаштування (4 сторінок), Посібник користувача (8 сторінок), Додаток до посібника (28 сторінок), Прочитай мене першим (16 сторінок), Встановлення та демонтаж (2 сторінок), Посібник з монтажу (12 сторінок), Посібник з планування та впровадження (40 сторінок), Інструкція з розбирання виробу, термін експлуатації якого закінчився (2 сторінок), Посібник з монтажу (46 сторінок), Посібник з діагностики (2 сторінок), Інструкція з розбирання (2 сторінок)
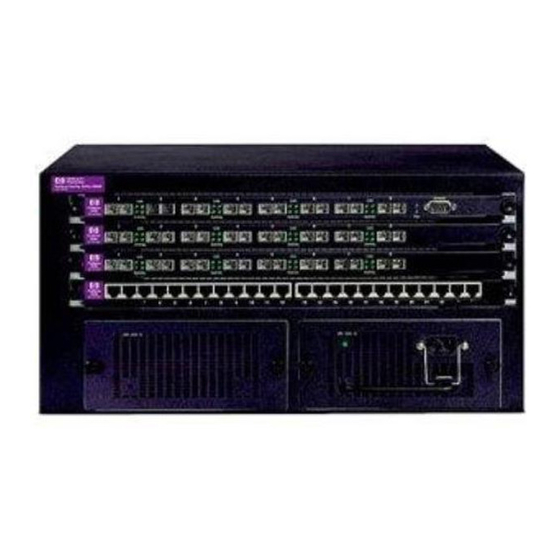
HP ProCurve 1600M Посібник з монтажу
Tip
Number
Problem
The network
connection is not
working properly.

Customer Support Services

If you are having any trouble with your module or switch, Hewlett-Packard
offers support 24 hours a day, seven days a week through the use of a number
of automated electronic services. See the Customer Support/Warranty booklet
that came with your switch for information on how to use these services to
get technical support. The HP networking products World Wide Web site,
http://www.hp.com/go/procurve also provides up-to-date support information
and contact phone numbers. Click on the [Support] button on that web page.
Additionally, your HP-authorized network reseller can also provide you with
assistance, both with services that they offer and with services offered by HP.
Try the following procedures:
• For the indicated port, verify that both ends of the cabling, at the switch and the
connected device, are snug.
• Verify the connected device and switch are both powered on and operating
correctly.
• Verify that you have used the correct cable type for the connection and that the
cable does not exceed the length indicated on page 8.
• For fiber-optic connections, verify that the transmit port on the switch is connected
to the receive port on the connected device, and the switch receive port is
connected to the transmit port on the connected device.
• Verify that the port has not been disabled through a switch configuration change.
You can use the console interface to determine the state of the port and re-enable
the port if necessary. If you have configured an IP address on the switch, you can
use Telnet to access the console, or use the web browser interface, or HP TopTools
for Hubs & Switches network management software.
• Try resetting the switch. If the transceivers were installed into the Gigabit Stacking
Module and then the module was "hot swapped" into the switch, the resulting
module self test is a partial one and does not fully test the operation of the
transceivers. Resetting the switch performs a more complete self test of the module
and transceivers. You may see a new LED behavior after the reset.
• Make sure that the switch port and the device at the other end of the cable are
configured the same for speed, duplex, and flow control. The default configuration
for the Gigabit-SX and Gigabit-LX ports is 1000 Mbps, full-duplex, with no flow
control. The connected device should be configured the same way, or both the
switch port and the device should be configured to Auto.
• If the other procedures don't resolve the problem, try using a different port or a
different cable.
Customer Support Services
Solution
15