HP ProCurve 1600M Прочитай мене першим - Сторінка 13

Переглянути онлайн або завантажити pdf Прочитай мене першим для Перемикач HP ProCurve 1600M. HP ProCurve 1600M 16 сторінок. Redundant power supply
Також для HP ProCurve 1600M: Технічна специфікація (12 сторінок), Прочитай мене першим (8 сторінок), Посібник рецензента (27 сторінок), Додатковий посібник (2 сторінок), Додатковий посібник (2 сторінок), Посібник з монтажу (28 сторінок), Посібник з монтажу (36 сторінок), Посібник з монтажу (28 сторінок), Посібник з швидкого налаштування (2 сторінок), Посібник з швидкого налаштування (4 сторінок), Посібник користувача (8 сторінок), Додаток до посібника (28 сторінок), Встановлення та демонтаж (2 сторінок), Посібник з монтажу (12 сторінок), Посібник з планування та впровадження (40 сторінок), Інструкція з розбирання виробу, термін експлуатації якого закінчився (2 сторінок), Посібник з монтажу (46 сторінок), Посібник з діагностики (2 сторінок), Інструкція з розбирання (2 сторінок)
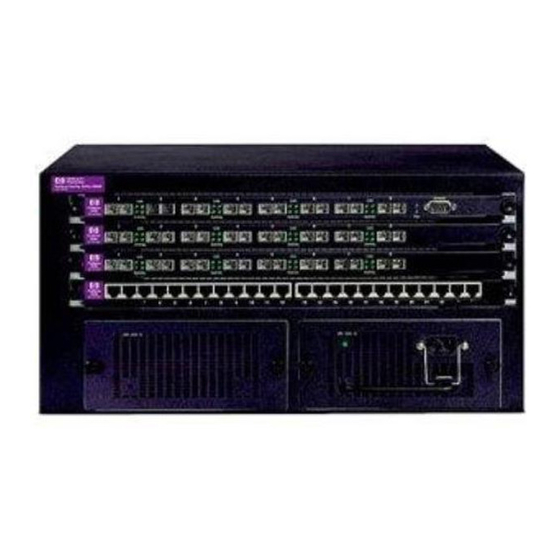
HP ProCurve 1600M Прочитай мене першим
Device Will Not Boot Up Due to Corrupt Operating System
Condition. The operating system (OS) is corrupt on both the primary and secondary flash memory, and the routing
switch will not boot up.
Solution. The routing switch will first try to boot up using the primary OS written to flash memory. If this fails, the
device automatically tries to boot from the secondary flash memory. If this also fails, the routing switch then tries to
connect to a TFTP server and boot from there. This will fail if a TFTP server is not configured to support the routing
switch, or is not found. You can perform this solution only if you have access to a TFTP server. Otherwise, there are
TFTP applications (available on the World Wide Web) that you can use to enable your PC to appear as a TFTP server
to the routing switch. One website where such software can be found is http://www.walusoft.co.uk.
1.
Using a straight-through cable, directly connect a PC or terminal to the serial port on the routing switch. (For
more information on attaching a PC or terminal, refer to chapter 2, "Installation", in the Quick Start Guide or
the Installation and Basic Configuration Guide.)
2.
Ensure that the OS version you want the switch to use is properly stored in your TFTP server.
3.
Reboot the routing switch as follows.
a.
Execute the reload command or use the (recessed) reset button on the management module.
1
Link
Active
b. Immediately after executing the boot command, enter Boot Monitor mode by pressing and holding the
key. You will then see this prompt:
BOOT MONITOR >
4.
Assign an IP address to the routing switch:
BOOT MONITOR > ip address < ip-address > < subnet-mask >
5.
If necessary, assign a default gateway IP address to the routing switch:
BOOT MONITOR > ip default_gateway < ip-address >
6.
Boot the switch using the OS you previously copied into the TFTP server:
BOOT MONITOR > boot system tftp < server-ip-address > < file-name >
The routing switch will now be able to boot up over the network. A new copy of the operating system can now be
downloaded to the primary and secondary flash memories via the TFTP server.
2
3
4
5
Link
Active
6
7
8
Link
Link
Active
Active
Console
Active
Pwr
Reset Button
[B]
13