HP ProCurve 1600M Посібник з монтажу - Сторінка 26

Переглянути онлайн або завантажити pdf Посібник з монтажу для Перемикач HP ProCurve 1600M. HP ProCurve 1600M 46 сторінок. Redundant power supply
Також для HP ProCurve 1600M: Технічна специфікація (12 сторінок), Прочитай мене першим (8 сторінок), Посібник рецензента (27 сторінок), Додатковий посібник (2 сторінок), Додатковий посібник (2 сторінок), Посібник з монтажу (28 сторінок), Посібник з монтажу (36 сторінок), Посібник з монтажу (28 сторінок), Посібник з швидкого налаштування (2 сторінок), Посібник з швидкого налаштування (4 сторінок), Посібник користувача (8 сторінок), Додаток до посібника (28 сторінок), Прочитай мене першим (16 сторінок), Встановлення та демонтаж (2 сторінок), Посібник з монтажу (12 сторінок), Посібник з планування та впровадження (40 сторінок), Інструкція з розбирання виробу, термін експлуатації якого закінчився (2 сторінок), Посібник з діагностики (2 сторінок), Інструкція з розбирання (2 сторінок)
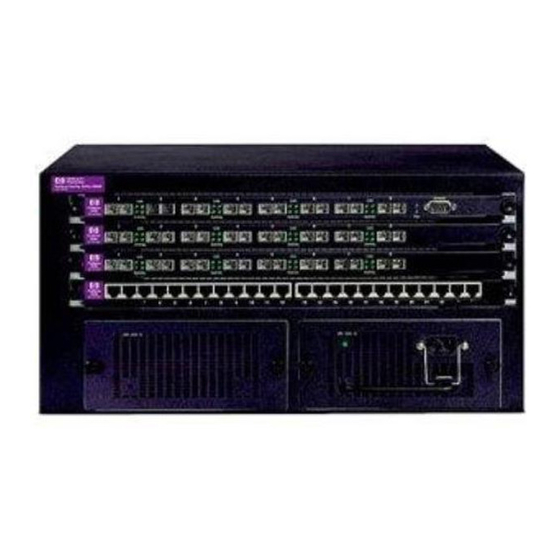
HP ProCurve 1600M Посібник з монтажу
WARNING
WARNING
Connecting the DC Power Supply

Safety Grounding Procedures

Safety Grounding Procedures
Each power supply has an M5 stud, starwasher, and nut on the rear
panel for connecting to earth ground. Both power supplies should be
connected to earth ground using a minimum 1.3 mm
with a suitable Listed/Certified M5, or equivalent crimp-on ring
terminal.
This equipment must be connected to earth ground to assure
continued safe operation, to prevent damage from electrostatic
discharge, and to assure compliance with electromagnetic
compatibility requirements.

Connecting the Power Supply

Disconnect power from the source before connecting power to
the product or before accessing the product's power terminals.
The DC source can supply high levels of current capable of
causing serious burns and arcing that can produce molten metal.
The steps required to connect the power supply are:
1. Connect the earth ground cable.
2. Connect the DC power cable.
3. Attach the cable strain relief.
4. Verify the power supply is installed correctly.
26
2
(16 AWG) cable
Chapter 3