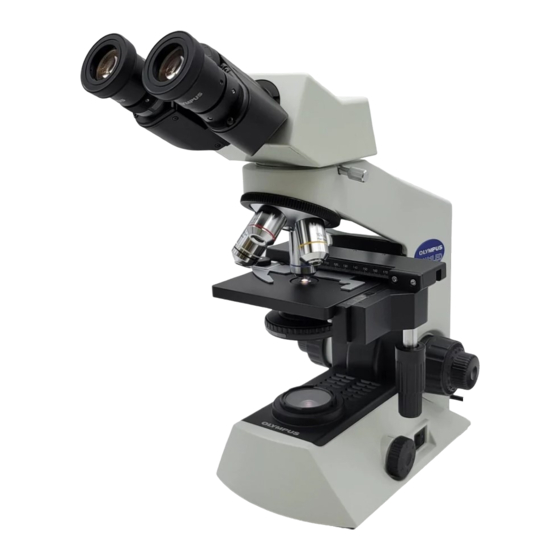
Olympus CX21LED Інструкція з експлуатації - Сторінка 11
Переглянути онлайн або завантажити pdf Інструкція з експлуатації для Мікроскоп Olympus CX21LED. Olympus CX21LED 28 сторінок. Biological microscope

Fig. 6
3
Adjusting the Focus
Fig. 7
²
Fig. 8
Specimen holder scales (Fig. 6)
@
}Theses scales allow the position (coordinates) being observed on the
specimen to be identified. Even after the specimen is moved, it can be
returned easily to the original position.
1. The horizontal coordinate can be read at position 1 on the specimen
holder.
2. The vertical coordinate can be read at the position of index line 2.
²
Focusing Procedure
³
1. Rotate the coarse adjustment knob @ in the direction of the arrow so
that the objective 3 is as close as possible to the specimen.
2. While observing the specimen through the eyepieces, slowly rotate the
@
coarse adjustment knob 1 in the opposite direction to the arrow to lower
the stage.
3. When coarse focusing of the specimen is obtained, rotate the fine
adjustment knob 2 to adjust to precise focus.
²
Working Distance (WD)
}The WD refers to the distance between each objective and the specimen,
when precise focus of the specimen is obtained.
Objective
Magnification
WD (mm)
Adjusting the Tension of the Coarse Adjustment Knob (Fig. 8)
@
1. The tension of the coarse focus adjustment knob has been designed
adjustable with a ring. Insert the tip of a large flat-blade screwdriver into
³
the groove 2 on the tension adjustment ring 1 and rotate the ring. Ro-
tating it clockwise (in the direction of the arrow) increases the tension
and counterclockwise decreases the tension.
2. If the stage descends on its own or if the specimen gets out of focus
quickly even when it is brought into focus using the fine adjustment
knob, it means that the tension of the coarse adjustment knob is too low.
Turn the ring 1 in the direction of the arrow to increase the tension.
4X
10X
40X
18.5
10.6
0.6
CX21LED
(Fig. 7)
100X
0.13
8
