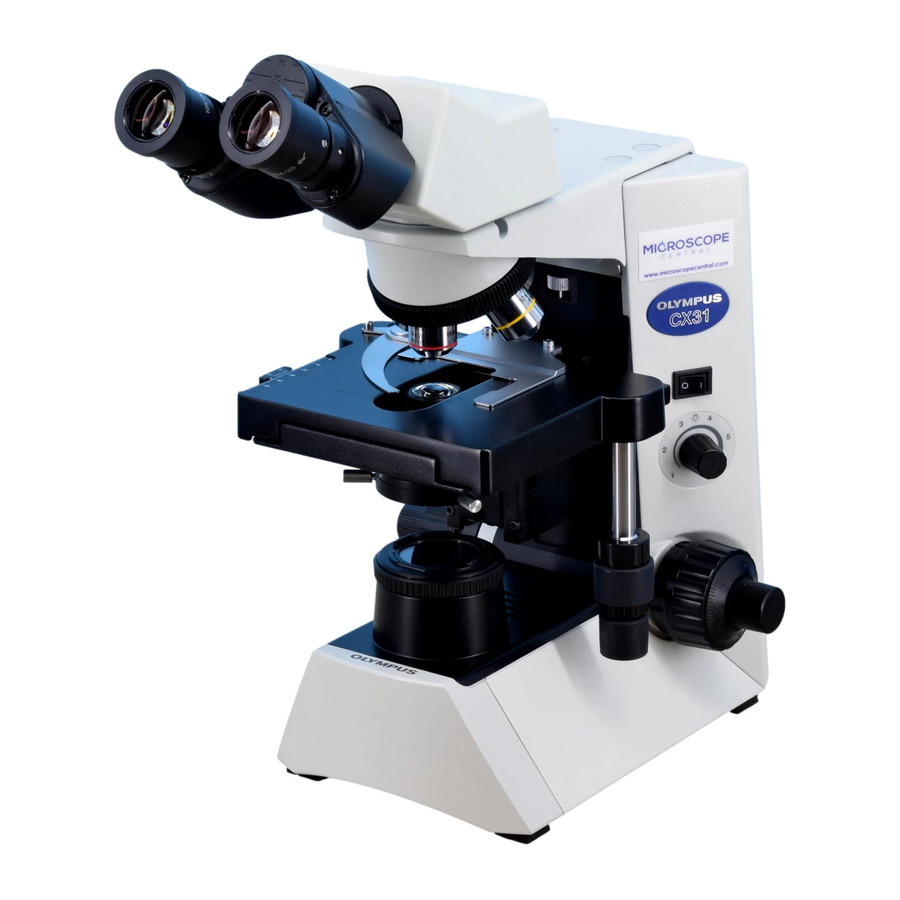
Olympus CX31 Інструкція з експлуатації - Сторінка 15
Переглянути онлайн або завантажити pdf Інструкція з експлуатації для Мікроскоп Olympus CX31. Olympus CX31 24 сторінки. Biological microscope

Fig. 17
Fig. 18
Fig. 19
Fig. 20
3
Using the Eye Shades
When Wearing Eyeglasses
Use with the eye shades in the normal, folded-down position. This will
prevent the eyeglasses from contacting and scratching the eyepieces.
When Not Wearing Eyeglasses
Extend the folded eye shades in the direction of the arrow for efficient
use of the eyeshades by preventing extraneous light from entering
between the eyepieces and eyes.
4
Light Ratio of Trinocular Tube
Thee trinocular tube used with the CX31RTSF does not have the light
path selection facility. Its light ratio is permanently fixed at 50% for the
binocular tube light path and 50% for the photo/TV light path.
5
Photomicrography/TV Observation
1. Using the provided Allen wrench, fully loosen the clamping screw @
on the straight photo tube mount on the trinocular tube.
2. Attach the U-SPT straight photo tube ² or a TV adapter on the mount
and tighten the clamping screw @.
3. Attach the photomicrography system or TV camera.
6
Using the Eyepiece Micrometer Disk (Optional) (Figs. 19 & 20)
}Prepare one eyepiece micrometer disk (diameter 20.4 mm, thickness 1
mm) and two 20.4-RH reticle holders (available as 2-piece set).
The field number becomes 19.6 when the reticle holders are used.
}If your eye is poor in eyesight and cannot focus the micrometer, use
eyeglasses to correct your vision.
1. Loosen the eyepiece clamping screws @ using a small, flat-blade
screwdriver and remove both eyepieces.
2. Hold the micrometer disk ² with the side with indications facing down
and place it into a reticle holder ³.
#Be careful not to leave dirt on the micrometer disk, as it will be
noticeable during observation.
3. Screw the reticle holder ³ containing the micrometer disk ² into the
bottom of an eyepiece.
Be sure to screw in all the way by hooking your nail into the notch |
on the holder at the end.
4. Screw the other reticle holder, alone, into the other eyepiece in order to
align the field number.
5. Attach the eyepieces again and tighten the clamping screws @.
CX31
(Fig. 17)
(Fig. 18)
12
