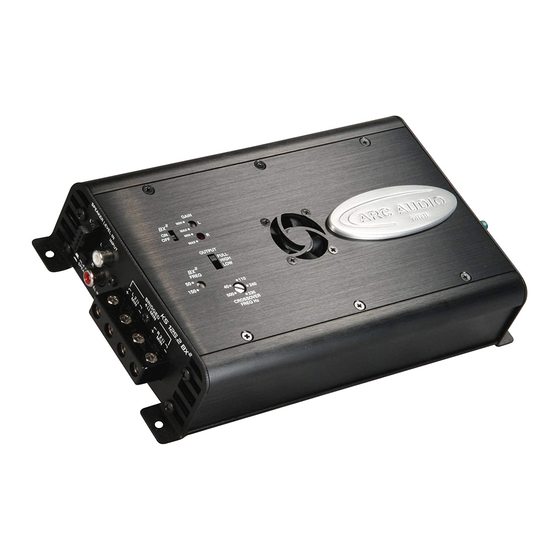
ARC Audio KS125.2 MINI Інструкція з монтажу Посібник з монтажу - Сторінка 7
Переглянути онлайн або завантажити pdf Інструкція з монтажу Посібник з монтажу для Підсилювач ARC Audio KS125.2 MINI. ARC Audio KS125.2 MINI 17 сторінок. Moto series

H. Next mount the new replacement speaker onto the
rear of the plate and align the tabs on the speaker
to the mounting holes on the plate and then secure
the speakers to the plate using the (4) Factory
phillips screws you removed from the stock speak-
ers. (Please note it may be necessary to use your
cutters to trim one of the mounting tabs to allow
clearance for the tweeter on component installa-
tions.) (See Figure 6H)
I. Using the factory T35 Torx screws re-attach the
factory speaker plate to the inner fairing. Be sure
to make note of the front grill and that it is
centered in the fairing opening. (See Figure 6I)
J. For Component installation remove the external
crossovers from their packaging and set aside.
Using non-residue cleaning solovent clean the flat
surface areas below and off to the sides of the
radio in preparation to mount the crossovers. Then
using the provided adhesive backed velcro, mount
the crossovers using firm pressure to insure good
adhesion. (See Figure 6J)
K. For Component installations connect your tweet-
ers and Mids to their respected crossovers and then
connect the crossovers to the amplifier. (See
Figure 6K)
L. Place the fuse in fuse holder for amplifier (If
amplifier was installed)
M. If installing speakers only to the factory head
unit connect the factory speaker wires to the new
speakers.
N. If connecting to a ARC Audio KS125.2 Mini
Amplifier, now connect your newely installed speak-
ers directly to the speaker outputs of the ampli-
fier making sure to follow L+R Channel assignment
and polarity
O. Now test your newely installed product prior to
reinstalling the front ferring.
P. Now reinstall the front fairing onto the bike.
Reconnect the headlight plugs and any additional
electronics that may be individual to your motor-
cycle. Then carefully reposition the fairing onto
the bike making sure to lift firmly to bring the
slots in the ferring over the frame hooks to ensure
the fairing is properly secured. Then reattach the
2 lower marker lights and then screw in the (6)
factory torx screws to complete the reassembly of
your motorcycle.(be sure to not overtighten these
screws as the fairing is made of plastic and can
easily strip out the screw holes.)
For additional product infomation visit WWW.ARCAUDIO.COM
Figure 6H-
Figure 6I
Figure 6J-
Figure 6K-
Contined..........
