Digisol DG-GS4200 Series Посібник з монтажу - Сторінка 16
Переглянути онлайн або завантажити pdf Посібник з монтажу для Перемикач Digisol DG-GS4200 Series. Digisol DG-GS4200 Series 19 сторінок. Giga layer 2 switches

character terminal.
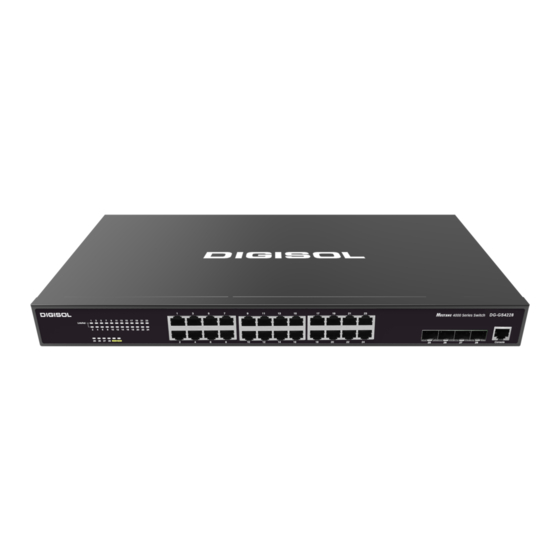
2.3.3 SFP Transceiver Installation
DG-GS4200 series provide multiple 1000Mb SFP transceiver slots.
The procedure for installing the SFP transceiver is shown below:
Step 1: Put on a ESD wrist strap (or antistatic gloves)
Step 2: Insert the SFP transceiver to the guide rail inside the fiber interface line card.
Do not put the SFP transceiver up-side-down.
Step 3: Push the SFP transceiver along the guide rail gently until you feel the
transceiver snap into place at the bottom of the line card.
Note: The SFP transceiver is hot swappable.
Caution!
Do not stare directly at the 2 fiber bore in the SFP transceiver when the switch is in
operation, otherwise the laser may hurt your eyes.
2.3.4 Copper Cable/Fiber Cable Connection
Copper cables should be connected as below:
Step 1: Insert one end of the Ethernet cable to the RJ-45 Ethernet port in the switch
copper cable line card;
Step 2: Insert the other end of the Ethernet cable to the RJ-45 Ethernet port of other
device;
Step 3: Check all status indicators for the corresponding ports; a lighted LED indicates
that the link has been established, otherwise the link is not ready and the cable should be
examined.
Caution!
Please verify the sign above the port to ensure using the right port. Connecting to
wrong ports might damage the switch.
Fiber cables should be connected as below:
Step 1: Remove the protective plug from the SFP/XFP fiber transceiver bore; Remove
the protective cap from one end of the fiber cable. Keep the fiber end clean and neat.
DG-GS4200 Installation Guide
2-8
