Cisco 7962 Шпаргалка - Сторінка 3

Переглянути онлайн або завантажити pdf Шпаргалка для IP-телефон Cisco 7962. Cisco 7962 3 сторінки. Telephone and voicemail
Також для Cisco 7962: Посібник користувача (6 сторінок), Посібник користувача (6 сторінок), Посібник користувача (4 сторінок), Посібник користувача (3 сторінок), Довідковий посібник (2 сторінок), Посібник користувача (6 сторінок), Посібник користувача (4 сторінок), Посібник користувача (13 сторінок), Посібник користувача (13 сторінок), Короткий довідник (2 сторінок), Короткий довідник (3 сторінок), Короткий довідник (9 сторінок), Посібник користувача (2 сторінок), Навчальний посібник користувача (2 сторінок), Короткий довідник (7 сторінок), Посібник користувача (9 сторінок), Короткий довідник (7 сторінок), Короткий довідник (4 сторінок), Короткий довідник (6 сторінок), Посібник користувача (2 сторінок), Короткий довідник (3 сторінок), Короткий посібник (2 сторінок), Короткий посібник користувача (2 сторінок), Посібник із швидкого старту (2 сторінок)
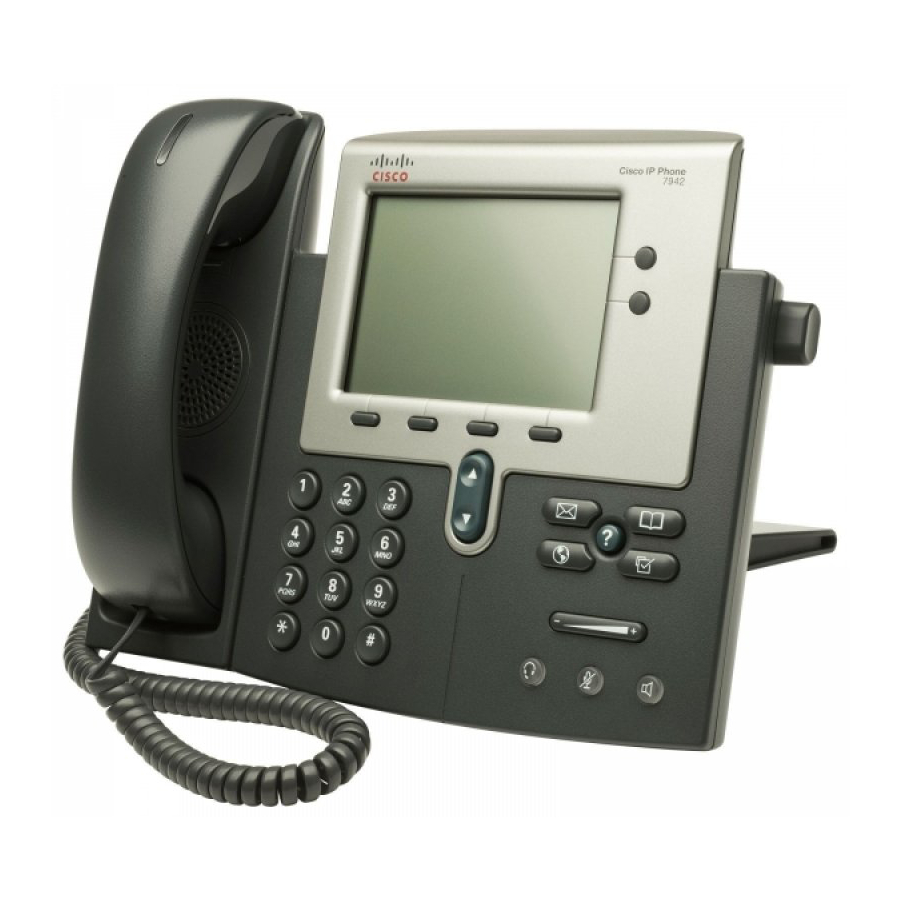
Cisco 7962 Шпаргалка
Pick up the handset and type in
the parked number (i.e. #2X
#3X)
Call Pickup
Call pickup allows you to answer
phone calls either within your
predefined pickup group.
If you hear the phone ringing that
you want to answer simply pick
up the handset, select More,
select PickUp, then the phone
will start ringing on your
handset, press Answer if you
would like to answer the phone
call.
Conference Calling
Conferencing a call allows up to 4
different people on one phone call.
 To conference answer the call
 Press the More soft key.
 Press Conf soft key
 Type in who you want to
conference (outside line 9) or
extension.
 Then hit Conf to bring in all the
users.
 Repeat process for multiple users
to join in on conversation.
Viewing list of conference
participants
 While on a conference call, select
More, then press ConfLi and you
will see a list of participants in the
conference call
Removing parties from Conference
Call
 If you initiate the conference call
you can remove certain parties, to
complete this press More, then
select ConfLi, then using the
arrows scroll through the names.
Cisco IP Phone Cheat Sheet
When you are highlighted on the
name you wish to remove select
Remove
Creating a conference call when
parties call you
 If you have two parties on the
same line and wish to join them
into a conference call select
More, then select Join and select
the two calls you wish to join into
a conference.
Forwarding All Calls
Forward all Calls allow you to
redirect all of calls to another phone.
Press the CFwdAll soft key
Listen for two beeps
Enter the number to which you
want to forward calls
Look for flashing right arrow to
appear in upper-right corner of
LCD (confirmation)
Look for message on LCD with
the number your calls are
forwarded to
To cancel forwarding of all calls
Press the CFwdAll soft key
Listen for one beep
Note: Flashing arrow should no
Longer appear in upper right corner.
Viewing or Dialing Missed,
Received , or Placed Calls
Missed (received, or placed) calls
option on the Directory menu allows
the user to view call history and call
back missed (received or placed)
calls.
Press the Directories button
Press the Select soft key to select
Missed Calls (select Received
Calls for received calls or Placed
Calls for placed calls)
Look at call history on LCD
Press
EditDial soft key to
prepend the necessary "9" to
.
return call
Press Exit soft key twice to exit
Directory
Making Calls from a Corporate
Directory
Press the Directories button
Use the scroll key to select
Corporate Directory
Press the Select soft key to
display the directory
Use the scroll key to select the
search option
Use the numbers corresponding
to the letters on the dialing pad
Press the Dial soft key to dial
number
Using the Personal Address Book
Press the Services button
Select Personal Directory
Select Personal Directory again
To search for an existing entry,
enter the last name, first name, or
nickname and press the Submit
softkey. To add a new entry,
simply press the Submit softkey.
Enter the first name, last name,
and nickname for the new entry
Press the Phones softkey to add
the phone numbers for the new
entry. Press the Submit softkey
Press the Exit softkey to exit.
Using the Personal FastDials
Press the Services button
Select Personal Fast Dials
Navigate to the FastDial number
you wish to assign as a speed dial
Press the Select softkey
Press the Assign softkey
Enter a valid phone number and
press the Update softkey
Press the Exit softkey when
finished
Setting Up Voice Mail
Press Messages button
Default password is "12345#"
Follow the guided instructions.
Accessing Voice Mail
Inside Office – your phone
Look for message waiting
indicator on handset
Press the Messages button
Enter your password followed by
the "#"
Inside Office – other phone
Press the Messages button
Press "*"
Enter your extension followed by
the "#"
Enter your password followed by
the "#"
Outside Office
Dial "your 7 digit office #" for
accessing voicemail from the
outside
When message begins, press *
Enter your extension followed by
the "#"
Enter your password followed by
the "#"