Cisco 7962G - Unified IP Phone VoIP Посібник користувача - Сторінка 17

Переглянути онлайн або завантажити pdf Посібник користувача для IP-телефон Cisco 7962G - Unified IP Phone VoIP. Cisco 7962G - Unified IP Phone VoIP 23 сторінки. Unified communications manager 9.0 (sccp and sip)
Також для Cisco 7962G - Unified IP Phone VoIP: Технічний паспорт (5 сторінок), Посібник користувача (6 сторінок), Посібник користувача (4 сторінок), Технічні характеристики (5 сторінок), Посібник з адміністрування (12 сторінок), Посібник користувача (13 сторінок), Посібник користувача (12 сторінок), Короткий довідник (2 сторінок), Посібник користувача (6 сторінок), Посібник з адміністрування (16 сторінок), Усунення несправностей та обслуговування (27 сторінок)
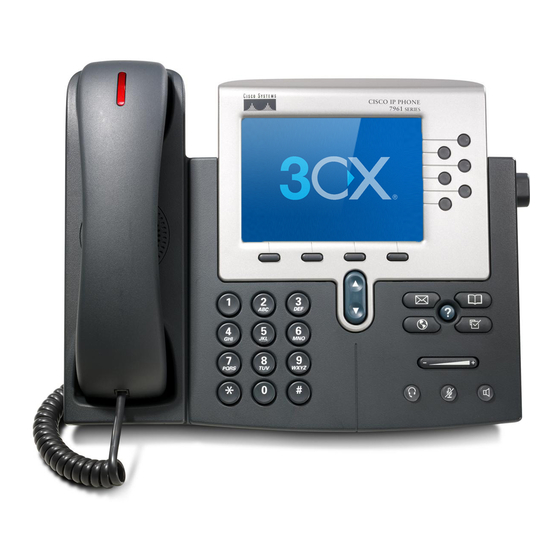
Cisco 7962G - Unified IP Phone VoIP Посібник користувача
Switch an in-progress Call from a Remote Destination Phone to Your Desktop Phone
1. Press Resume on your desk phone and start talking on your desk phone.
2. Hang up the call on your remote phone to disconnect the phone.
Change Your Remote Destination Phone Number
You can replace the existing remote destination phone number with a new phone number.
To change the existing remote destination phone number:
1. Press Services button and select My Phone Apps.
2. Select Single Number Reach.
3. Use << soft key to type your new remote destination phone number. Make sure you add the appropriate dialing prefix or
access code (if applicable) to your remote destination number.
4. Press Submit.
Enable or Disable Single Number Reach
You can enable or disable Single Number Reach (SNR) on your phone by using the Mobility soft key.
• To disable SNR, press Mobility soft key and select Disable Mobile Connect.
• To enable SNR, press Mobility soft key and select Mobile Connect On.

View Call History

To view recent missed, received, or placed calls:
1. Press the Directories button.
2. Use the Navigation button to scroll and select the desired call list. Press the Select soft key, or:
Press 1 on the keypad for Missed Calls.
Press 2 on the keypad for Received Calls.
Press 3 on the keypad for Placed Calls.
3. Press the Exit soft key to return to the previous directory menu.

Place a Call from Call History

To place a call to a number in the call history list:
1. Use the Navigation button to scroll through the call history list.
2. Use the Select soft key to select a phone number. The digits appear on the phone display.
3. To dial the number as it appears on the phone display:
Press the Dial soft key.
To edit the number on the phone display before dialing:
1. Press the EditDial soft key to place the cursor at the beginning of the number on the phone display.
2. Use the keypad to edit the digits as needed. Use the backspace (<<) soft key to erase digits that you enter incorrectly.
3. Press the Dial soft key to place the call.

Clear Call History

To clear all numbers in the directory histories:
• Press the Clear soft key.
The Clear soft key clears all call history lists. Selective clearing of call history lists is not supported.
Note
17