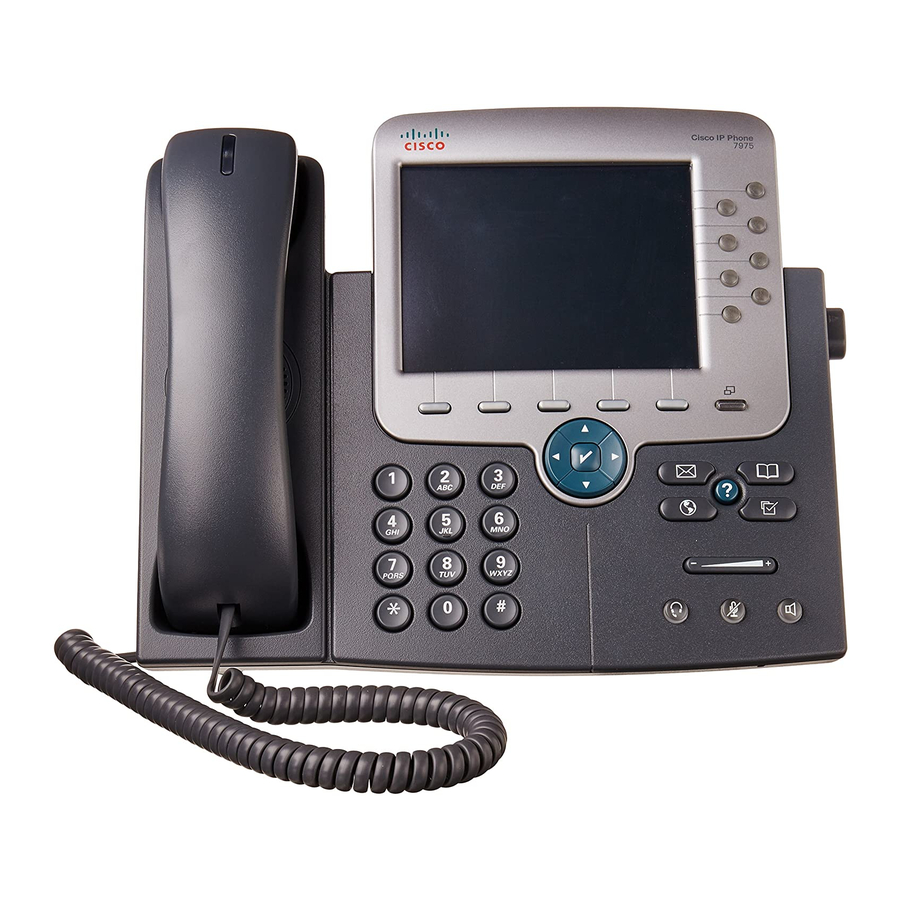
Cisco 7970G - IP Phone VoIP Посібник користувача - Сторінка 10
Переглянути онлайн або завантажити pdf Посібник користувача для IP-телефон Cisco 7970G - IP Phone VoIP. Cisco 7970G - IP Phone VoIP 21 сторінка. Unified ip phones
Також для Cisco 7970G - IP Phone VoIP: Підготовка до встановлення (17 сторінок), Посібник з монтажу (19 сторінок), Усунення несправностей та обслуговування (25 сторінок)

Transferring Calls
To transfer a call without talking to the transfer recipient, use the following method:
1. From an active call, press Transfer.
2. Enter the target number.
3. Press Transfer again to complete the transfer or EndCall to cancel.
If your phone supports on-hook transfer, you can alternately complete the transfer by hanging up.
Note
To talk to the transfer recipient before transferring a call (consult transfer), use the following method:
1. From an active call, press Transfer.
2. Enter the target number.
3. Wait for the transfer recipient to answer.
4. Press Transfer again to complete the transfer or EndCall to cancel.
If your phone supports on-hook transfer, you can also complete the transfer by hanging up.
Note
To redirect a ringing call to your voice messaging system, press DND. The call is automatically transferred to your voice message
greeting.
Transferring Calls to Voice Mail
To transfer a call to the recipient's voice mail, use the following method:
1. Press TrnsfVM.
2. Enter the recipient's extension number and press TrnsfVM again.
Forwarding All Calls to Another Number
To set up call forwarding on your primary line, press CFwdALL and enter a target phone number exactly as you would dial it
from your phone. For example, enter an access code or the area code, if necessary. You can forward your calls to a traditional
analog phone or to another IP phone, although your system administrator can restrict the call forwarding feature to numbers
within your company. Call forwarding is phone line specific. If a call reaches you on a line where call forwarding is not enabled,
the call will ring as usual. Your system administrator can change call forwarding conditions for your phone lines.
To cancel call forwarding on your primary line, press CFwdALL.
To verify that call forwarding is enabled on your primary line, look for:
• The call forward icon above the primary phone number:
• The call forward target number in the status line.
Do Not Disturb
Use the Do Not Disturb (DND) feature to block incoming calls on your phone with a busy tone. When DND is turned on, the
DND blocking feature applies to all the lines on your phone. Received calls are not logged to the Missed Calls directory on your
phone.
When DND and Call Forward All are both enabled on your phone, Call Forward All takes precedence on incoming calls. That
is, calls will be forwarded and the caller will not hear a busy tone.
If DND is not enabled on your phone, see your system administrator.
To activate DND, use the following method:
1. Press the more soft key to locate the DND soft key.
10
.
