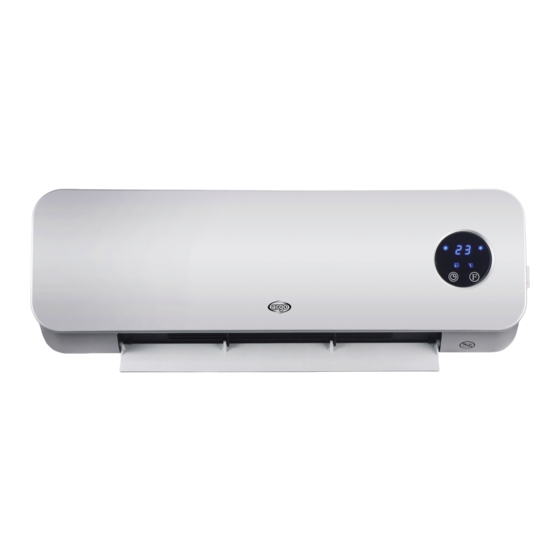
Argo CLOVER Інструкція з експлуатації Посібник з експлуатації - Сторінка 6
Переглянути онлайн або завантажити pdf Інструкція з експлуатації Посібник з експлуатації для Обігрівач Argo CLOVER. Argo CLOVER 12 сторінок. Wall-mounted ceramic fan heater

The fan heater must be installed on the wall before use. Do not try to use it without installation. The installation
sequence is listed below:
1. Select a space for installing the appliance (figure 1).
2. Drill two holes on the wall that are suitably sized for inserting the Ø 8 mm Fischer screw plugs. (figure 2)
D= 394 mm
FIGURE 1
3. Insert the Fischer screw plugs into the holes and tighten the screws provided.
NOTE: Tighten the screws securely. Do not insert the screws into the Fischer plugs entirely - leave around 10 mm
free.
4. Mount the appliance on the wall (figure 3).
Ensure that the holes on the rear of the appliance are directed towards the two screws, push the fan heater
backwards onto the wall then downwards until it lies in a stable position.
LED COMFORT mode
(maximum heat 2000 W)
LED mode
open window
Connect the power cable to a suitable electric socket (220-240V~50Hz), as indicated in the data plate.
SWITCHING THE FAN HEATER ON
Press the
button on the appliance to switch the fan heater to stand-by mode. Press
to switch the appliance ON.
V 07/22
HOW TO INSTALL THE FAN HEATER
CONTROL PANEL
LED timer
Timer button
Ambient temperature display
394 mm
FIGURE 2
ECO mode LED
(energy saving 1100 W)
P
LED weekly timer
°C
F button (function selection)
FIGURE 3
LED °C temperature
the on the remote control
19
