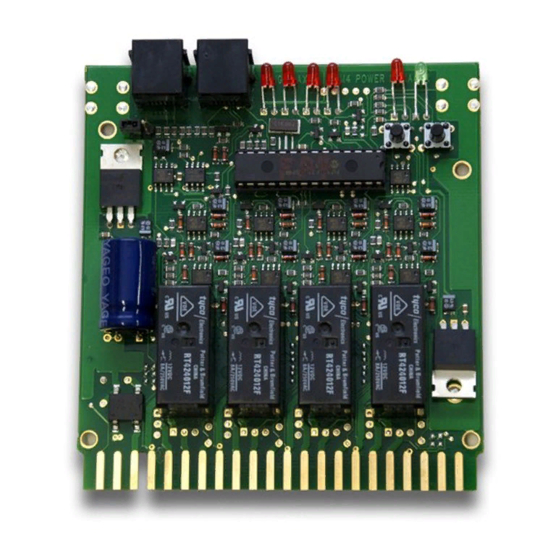
Digitrax PM42 Посібник - Сторінка 13
Переглянути онлайн або завантажити pdf Посібник для Блок управління Digitrax PM42. Digitrax PM42 16 сторінок.

5.3 Setting the PM42 for Auto-Reversing Operation
Once you have wired one or more sections of the PM42 for auto-reversing
according to the instructions in Section 4.0 of this manual, use TABLE V
below to determine which OpSw you must set to enable auto-reversing in the
PM42 section/s you want to use as auto-reversing.
We recommend that you set your short circuit detection sensitivity to the
"Fastest" setting when using auto-reversing.
TABLE V: PM42 Auto-Reversing Set Up Option Switches
PM42
Section 1
PM42
Section 2
PM42
Section 3
PM42
Section 4
6.0 Using your PM42 on LocoNet
The PM42 will operate with no connection to LocoNet. To put your PM42 on
LocoNet, use the two LocoNet connectors on the PM42 to connect it to
LocoNet using 6 conductor cables just like any other LocoNet device on your
layout.
If connected to LocoNet, the PM42 sends information to the system as faults
are detected, cleared, and when auto-reversing occurs. If you wish to report
PM42 status information to LocoNet and attached devices or computers that
can interpret these messages, you must set up a unique board address for each
PM42.
6.1 Setting the PM42's board address:
1. Connect a Digitrax DT series throttle to the LocoNet port on your
PM42.
2. If the PM42 is not connected to a working LocoNet (via a 6 conduc-
OpSw 06 = c
Connect Rail A, Pins E & 5,
Connect Rail B, Pins F & 6
on 44-pin connector
OpSw 14 = c
Connect Rail A, Pins K & 9,
Connect Rail B, Pins I & 10
on 44-pin connector
OpSw 22 = c
Connect Rail A, Pins P & 13,
Connect Rail B, Pins R & 14
on 44-pin connector
OpSw 30 = c
Connect Rail A, Pins U & 17,
Connect Rail B, Pins V & 18
on 44-pin connector
12
