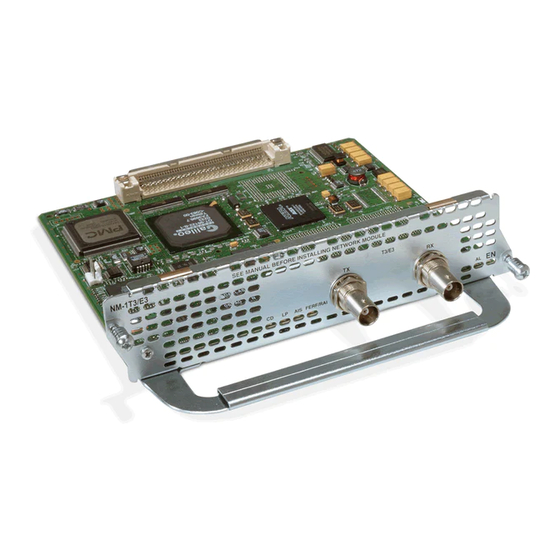
Cisco T3 Посібник з монтажу - Сторінка 7
Переглянути онлайн або завантажити pdf Посібник з монтажу для Шлюз Cisco T3. Cisco T3 9 сторінок. Network modules
Також для Cisco T3: Посібник з підключення (4 сторінок)

Note When you replace a DFC with a new DFC of the same type in the same slot, the system
software will recognize the new trunk interfaces and bring them up automatically. If you replace
the existing DFC with a new DFC of a different type, you will have to reconfigure the system.
For configuration details, refer to the Cisco AS5350 and Cisco AS5400 Universal Gateway
Software Configuration Guide.
To install the T3 DFC, follow these steps:
Step 1 Attach an ESD-preventive wrist strap.
Step 2 Slide the DFC into the slot until the connector pins make contact with the carrier card
backplane connector. (See
Figure 4-9
and
Figure
4-10.)
Figure 4-9 Install the T3 DFC in the Cisco AS5350
Figure 4-10 Install the T3 DFC in the Cisco AS5400
Step 3 Align the captive screws with their holes, and seat the card completely.
Step 4 Tighten the screws to secure the DFC to the chassis. (See
Figure 4-11
and
Figure
4-12.)
Figure 4-11 Tighten the Captive Screws on the Cisco AS5350
