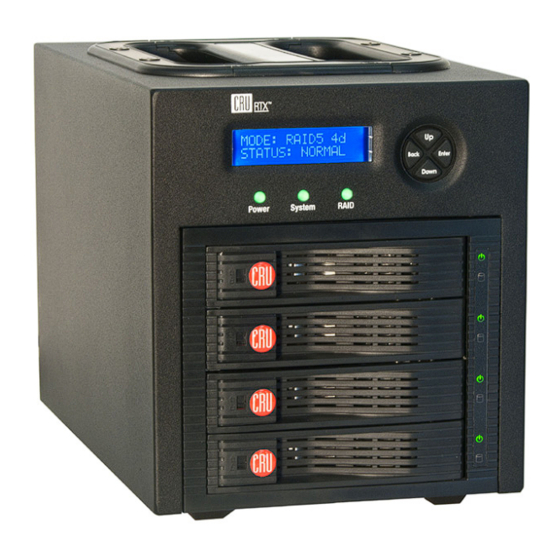
CRU Dataport RTX430-3QR Посібник користувача - Сторінка 5
Переглянути онлайн або завантажити pdf Посібник користувача для Корпус CRU Dataport RTX430-3QR. CRU Dataport RTX430-3QR 9 сторінок.
Також для CRU Dataport RTX430-3QR: Посібник із швидкого старту (2 сторінок)

6.2 Changing the RAID Type
a. Disconnect the RTX enclosure from the computer.
b. Press the Up button to cycle the LCD menu to the "Change RAID
Mode" screen and press the Enter button.
c. The LCD will display "Select RAID Type". Press Up or Down to
cycle through the available options to your desired RAID type and
press Enter.
d. The screen will display "Will Erase all Data OK?" Pressing Enter
will result in the loss of all data on the drives. Ensure all data
is backed up, then press Enter.
e. The new configuration will be selected and the RTX enclosure will
reboot. The RAID is now created.
f. The RTX enclosure has been configured and is ready for operation.
Follow the instructions for the appropriate operating system usage
instructions to initialize and format the drives.
6.3 Adding a New Drive to a RAID
NOTE: Any data on the new hard drive will be destroyed when
the drive is added to the RAID.
RAID 0
Never remove a drive from a RAID 0 as this will cause the loss of
all data. In the event of a disk failure for a RAID 0, the RAID will be
destroyed. Add a drive and then press the Up button to create a new
RAID. Follow the display prompts to build a new array.
RAID 1, 5, and 10
In the event of a disk failure or removal, the RAID will continue to
function in a degraded state. Add a new disk to the RTX430-3QR to
rebuild the RAID. After the new drive has been detected, the RTX
enclosure will ask to add a new disk. Press the Enter button to do so. The
disk will be added to the RAID and the RAID will begin to rebuild. The
LCD screen will display the percent complete for the rebuild. Rebuild
times vary, a 1TB hard drive takes just over 3 hours to rebuild. You can
toggle to the approximate time remaining by pressing enter on the
front panel.
7 Buzzer and Temperature Configuration
The RTX430-3QR is compatible with
CRU Configurator 3.5 or higher, which
allows IT administrators to change
internal settings to meet individual
needs. Configurator allows the user
to set the password, enable and dis-
able audible alarms, and change
temperature alarms and warnings settings. To download Configurator
and the full Configurator manual, visit
configurator.php.
7.1 Accessing RTX Enclosure's Settings
In order for Configurator to access the RTX enclosure, change the
configuration switch on the back panel to USB 2.0 Mode and connect
the RTX enclosure to the host computer using a USB 2.0 cable inserted
into the USB port.
7.2 Customizable Options
The following options are available on the Alerts tab of the
Configurator:
Configuration PIN
This feature allows you to set a PIN to prevent unauthorized
configuration. The default PIN is 0000. The RTX enclosure only requires
you to enter a PIN if a different value has been set.
Buzzers
Place a check in the boxes to indicate which warning/alarm buzzers
you want to be activated or remove a check from the boxes next to the
buzzers you want to deactivate. When a buzzer sounds, press Enter on
the front of the RTX enclosure to temporarily silence it until the RTX
enclosure is next rebooted.
System Warning Buzzer
This buzzer will sound when a drive reaches the temperature set
using the Drive temperature warning slider below. This buzzer is
disabled by default. As a visual alert, the System Status LED will glow
amber when the temperature is reached, regardless of whether the
buzzer is enabled or not.
System Alarm Buzzer
This buzzer will sound on 3 occasions:
• When a drive reaches the temperature set using the Drive
temperature alarm slider below
www.wiebetech.com/software/
Page 5
