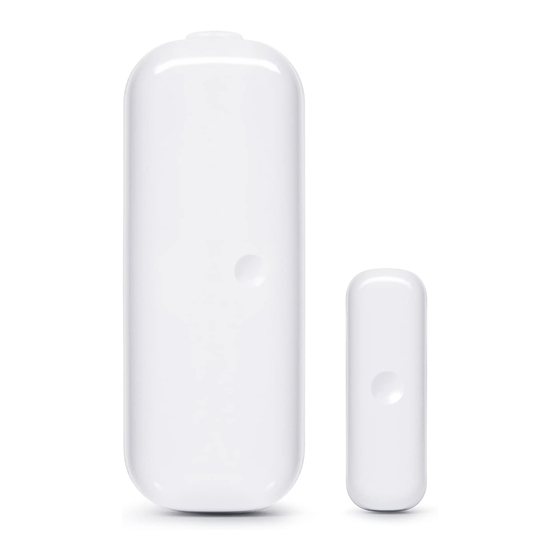
Aeotec Door Window Sensor Gen5 Посібник користувача - Сторінка 5
Переглянути онлайн або завантажити pdf Посібник користувача для Аксесуари Aeotec Door Window Sensor Gen5. Aeotec Door Window Sensor Gen5 7 сторінок.

Door Window Sensor to your needs.
Testing your Sensor before installing.
You should test your sensor before installing it into place to confirm if the unit is working properly after you have added
it to your network:
1. Take the Sensor and the Magnet unit in separate hands.
2. Move the Magnet Unit to your Sensor and place the dots next to each other.
3. You should hear a small clicking sound and the LED on the Sensor unit will quickly blink, this will indicate that
the sensor has detected a change in state and has reported the change to your gateway or controller.
4. Now move the Magnet Unit away from your Sensor
5. Just like step 3, you will hear a small clicking sound and the LED will quickly blink, and then send a message to
your controller/gateway at the same time.
Attach your Sensor to its plates.
With your sensor added to your Z-Wave network, it's now time to insert each main part of your sensor into the
corresponding sensor plate.
1. Insert the larger of your two sensor parts into the large mounting plate ensuring that the dimple on the front is on
the same side as the smaller mounting plate.
2. lnsert the smaller of your two sensor parts into its mounting plate.
Advanced functions.
Wake Up Sensor.
In order to send your Sensor new configuration commands from your Z-Wave controller or gateway, it will need to be
woken up.
