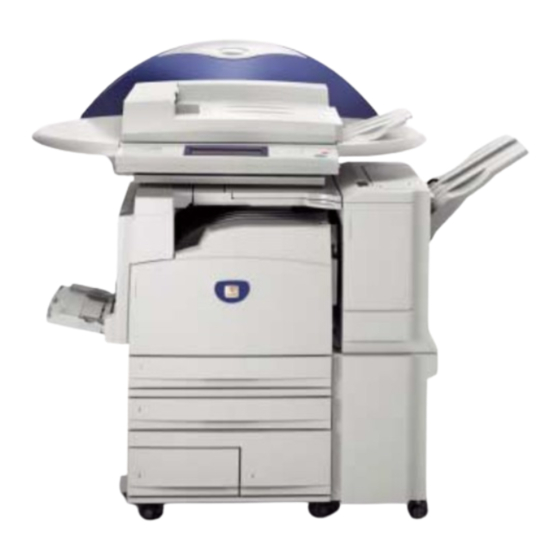
Xerox WorkCentre M24 Color Посібник зі швидкого підключення
Переглянути онлайн або завантажити pdf Посібник зі швидкого підключення для Принтер Xerox WorkCentre M24 Color. Xerox WorkCentre M24 Color 4 сторінки. Creating mailbox
Також для Xerox WorkCentre M24 Color: Посібник із швидкого старту (4 сторінок), Брошура та технічні характеристики (4 сторінок), Посібник із швидкого старту (4 сторінок), Посібник із швидкого старту (2 сторінок), Посібник із швидкого старту (2 сторінок), Посібник із швидкого старту (4 сторінок), Посібник із швидкого старту (2 сторінок), Посібник із швидкого старту (2 сторінок), Посібник із швидкого старту (2 сторінок)