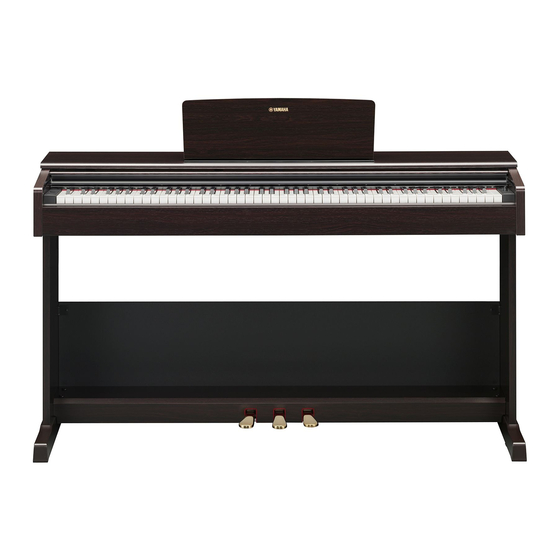
Yamaha Arius YDP-105 Посібник користувача - Сторінка 16
Переглянути онлайн або завантажити pdf Посібник користувача для Музичний інструмент Yamaha Arius YDP-105. Yamaha Arius YDP-105 24 сторінки.
Також для Yamaha Arius YDP-105: Посилання на міді (3 сторінок)

Keyboard Stand Assembly
Assembly Precautions
CAUTION
• Assemble the instrument using at least two people.
• Assemble the instrument on a hard and flat floor with ample
space.
• Be sure to use the correct parts in the correct orientation,
and assemble the instrument in accordance with the
sequence given here.
• Keep small parts (such as screws) out of the reach of
infants. Children may accidentally swallow them.
• Be sure to use only the included screws of specified sizes.
Use of any other screws can cause damage or malfunction
of the product.
• To disassemble the unit, reverse the assembly sequence
given here.
Have a Phillips-head (+) screwdriver of the appropriate size
ready.
Post-assembly checklist
• There are no unused parts.
• The instrument is stable even if you shake it.
• The pedal adjuster is firmly pressed against to the floor
surface.
• Both the pedal cord and power cord are plugged
securely into the correct jacks.
→ If there are any items above you haven't confirmed,
review the assembly procedure and correct any errors.
16
YDP-105 Owner's Manual
Assembly
You can watch a video of the assembly.
Scan the QR code at left or access the
website below.
https://4wrd.it/ydp_assembly_video3
Check if you have all of the items indicated below.
NOTICE
Make sure to place the main unit on the polystyrene foam
pads that have been removed from the packages. Position the
pads so that they will not contact the speaker covers on the
bottom of the main unit.
Main unit
Speaker cover
Polystyrene foam pads
Back board
Pedal box
Cord holder
Side board (L)
× 4
Flat head screws (6 × 20 mm)
× 4
Tapping screws (4 × 20 mm)
AC adaptor
* The adaptor may not be included, or may look different from the
illustration above, depending on your particular area.
Speaker cover
Side board (R)
× 2
Thin screws (4 × 12 mm)
× 4
Thick screws (6 × 16 mm)
