Blackberry Radar H2 Посібник з монтажу - Сторінка 17

Переглянути онлайн або завантажити pdf Посібник з монтажу для Радар. Blackberry Radar H2. Blackberry Radar H2 30 сторінок. Dry van, insulated trailers roll-up doors
Також для Blackberry Radar H2: Посібник з монтажу (33 сторінок), Посібник з монтажу (26 сторінок), Посібник з монтажу (25 сторінок), Посібник з монтажу (32 сторінок), Посібник з монтажу (33 сторінок), Посібник з монтажу (34 сторінок), Посібник з монтажу (35 сторінок), Інструкція з експлуатації (33 сторінок), Посібник з монтажу (32 сторінок), Посібник з монтажу (26 сторінок), Посібник з монтажу (25 сторінок), Посібник з монтажу (28 сторінок)
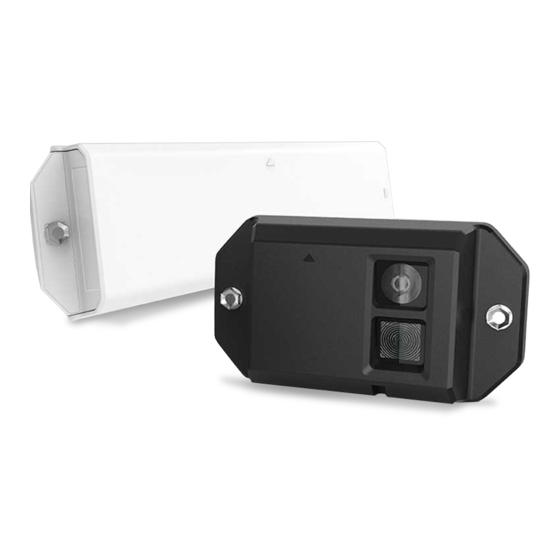
Blackberry Radar H2 Посібник з монтажу
3.4.1 Prepare module for installation—Battery connection
1. Remove the module from the package and from the plastic bag. Detach the fastener
bag from the end of the module and keep nearby. You will require these screws to
complete the module assembly process.
2. Turning the module bottom side up, grasp the end of the module's inner housing. Pull
to separate the inner housing from the outer housing.
3. Remove the battery connector from the connector recess and connect the battery
cable to the battery connector. The LED will blink to indicate the module is active.
NOTE: It can take between 10-15 seconds for the blink sequence to begin. Please be
patient. Once you see the LED blink, you may continue to the next step.
BLACKBERRY RADAR H2 ITC100-1 INSTALLATION GUIDE 17
LED