Alemite 7896-A5 Посібник з експлуатації - Сторінка 9
Переглянути онлайн або завантажити pdf Посібник з експлуатації для Водяний насос Alemite 7896-A5. Alemite 7896-A5 16 сторінок. Medium-pressure material pump
Medium-Pressure Material Pump
Overhaul
NOTE: Refer to Figure 3-A and 3-B for
component identification on all overhaul
procedures.
Prior to performing any maintenance procedure, the
following safety precautions must be observed. Personal
injury may occur.
WARNING
Do not use halogenated hydrocarbon sol-
vents such as methylene chloride or 1,1,1-trichlor-
ethane in this pump. An explosion can result
within an enclosed device capable of containing
pressure when aluminum and/or zinc-plated parts
come in contact with halogenated hydrocarbon
solvents.
Release all pressure within the system prior to
performing any overhaul procedure.
• Disconnect the air supply line from the pump
motor.
• Into an appropriate container, operate the
control valve to discharge remaining pressure
within the system.
Never point a control valve at any portion of your
body or another person. Lubricant discharged at
high velocity can penetrate the skin and cause
severe injury. Should any fluid appear to puncture
the skin, get medical care immediately.
Read each step of the instructions carefully. Make
sure a proper understanding is achieved before
proceeding.
Disassembly
Separate Air Motor from Pump Tube
1. Clamp the pump assembly vertically in a vise at Bung
Adapter (29).
2. Remove Screws (5), Lock Washers (7), and Nuts (8)
that secure the Air Motor Assembly to the Pump Tube
Assembly.
3. Lift the motor upward to expose upper Coupling (9)
and at the same time place a wood block (2" x 4") onto
the surface of Upper Mounting (16). See Figure 6.
4. Lower the Air Motor onto the wood block.
Alemite Corporation
5. Remove upper Spring Clip (10) that secures the air
motor piston to the Coupling.
6. Rotate the Coupling until the air motor piston is free.
7. Remove the Air Motor Assembly.
Access to Body Packing
8. Remove lower Spring Clip (10) that secures Rod (11)
to the Coupling.
• Remove the Coupling from the Rod.
9. Remove Packing Screw (12) from Plate (15).
10. Clamp the pump assembly horizontally in a vise
(material outlet upward) at Body (19).
11. Unscrew and remove Extension Cylinder (31) [with
attached components] from the Body.
• Use a strap wrench.
12. Remove O-Ring (30) from the Extension Cylinder.
Body Packing
13. Remove Screw (28) from the Body.
• Access is through the Body's outlet.
14. From the bottom of the Body remove:
• Spacer (27).......................................................Qty 1
• Male Rings (25) ...............................................Qty 2
• V-Packings (24) ...............................................Qty 8
• Female Rings (23) ...........................................Qty 2
• Washers (22) ....................................................Qty 3
• Lantern Ring (26) ............................................Qty 1
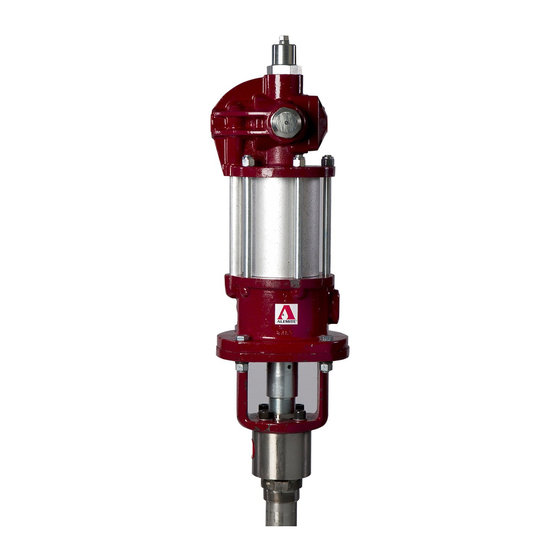
Figure 6 Separation of Air Motor from Pump Tube with
use of Wooden Block
9
SER 7896-A5
Revision (2-04)