Flycam DSLR-NANO-QR-BL Montageanleitung - Seite 3
Blättern Sie online oder laden Sie pdf Montageanleitung für Kamera-Zubehör Flycam DSLR-NANO-QR-BL herunter. Flycam DSLR-NANO-QR-BL 10 Seiten. Dslr nano blue handheld camera stabilizer
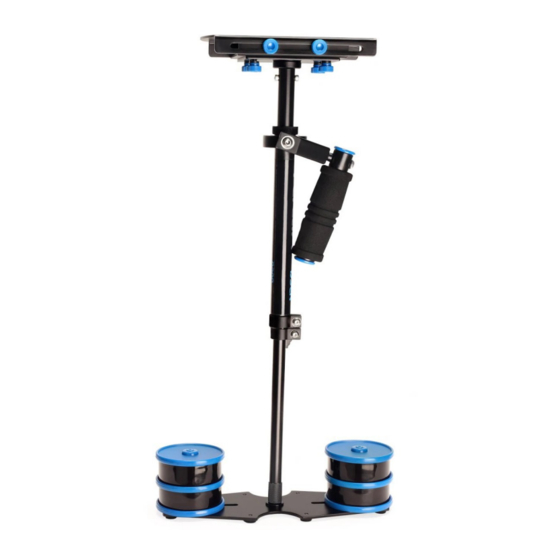
CENTRAL POST
Warning:
The gimbaled control unit, handle,
and yoke have been factory set for optimum
performance.
Do not attempt to adjust them.
ASSEMBLING YOUR HANDHELD STABILIZER
•
Loosen the 2x Allen bolts at the bottom of
the camera plate, align the holes with the
top of the central post & retighten the Allen
bolts securing the head to the stalk.
•
Remove the quick release plate from the
adapter by sliding the release lever to the
open position. Next, attach the quick release
plate to the camera base.
•
Remove the head plate by unscrewing the
four side knobs to mount the quick-release
adaptor.
•
Loosen the Allen bolt at the bottom of the
quick release adapter and attach it to the
head plate. Then, retighten the bolt to se-
cure the adapter to the plate.
•
Attach the head plate to the Flycam
handheld stabilizer with appropriate fore &
aft positioning and tighten the side knobs as
shown. Further 'fine tuning' will probably be
required.
3