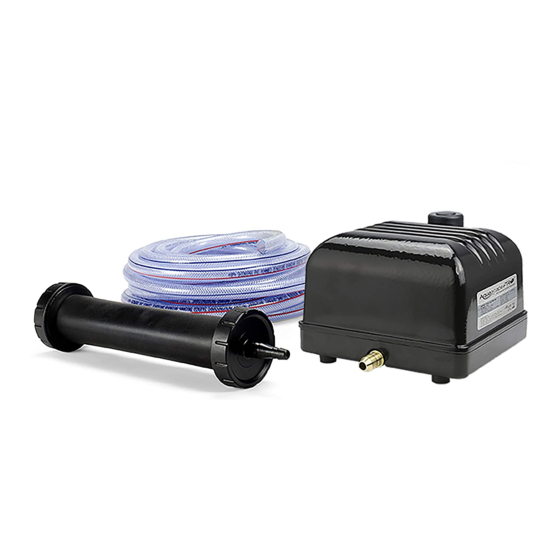
AquaScape Pro Air 20 Anleitung und Wartung - Seite 4
Blättern Sie online oder laden Sie pdf Anleitung und Wartung für Rasen- und Gartengeräte AquaScape Pro Air 20 herunter. AquaScape Pro Air 20 12 Seiten. Aeration compressor
Auch für AquaScape Pro Air 20: Installationsanweisungen und Wartung (12 seiten)

STEP 1
SET COMPRESSOR
• Set the compressor in the desired location. Select a
location near a ground fault circuit interrupter (GFCI) rated
receptacle.
Note: Do not submerge
the compressor in water.
We recommend placing
it in a location above the
pond's water level, whenever
possible, to prevent
water from entering the
compressor.
STEP 2
ATTACH TUBING
• Attach tubing with a check valve to the barbed
compressor outlet. It is recommended to use a hose
clamp to secure the tubing to the outlet.
Note: Installing a check valve will prevent water from
siphoning back through the tubing and entering the
compressor. Failure to properly install a check valve may
result in the compressor being permanently damaged,
voiding the warranty.
STEP 3
ATTACH TUBING TO DIFFUSER
• Attach the other end of the tubing to the diffuser. It is
recommended to use a hose clamp to secure the tubing to
the diffuser.
4
STEP 4
SET DIFFUSER IN POND
• Set the diffuser in the pond.
STEP 5
PLUG IN COMPRESSOR
• Plug the compressor into
a ground fault circuit
interrupter (GFCI) rated
receptacle and enjoy the
benefits!
☎
☎
US (866) 877-6637 |
CAN (866) 766-3426 | aquascapeinc.com
