Olympus CX23 Anleitung Handbuch - Seite 14
Blättern Sie online oder laden Sie pdf Anleitung Handbuch für Mikroskop Olympus CX23 herunter. Olympus CX23 32 Seiten. Biological microscope
4
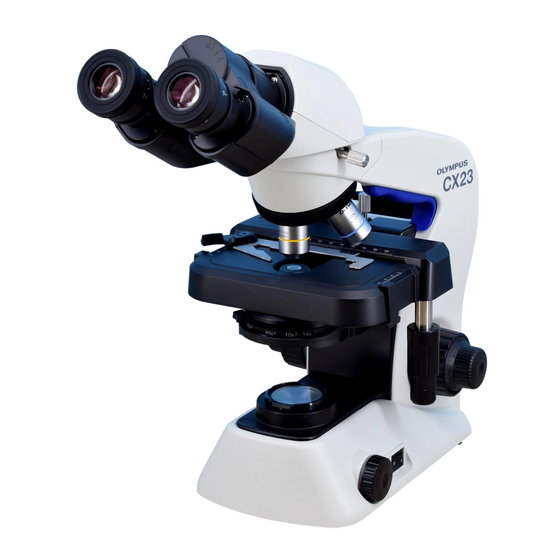
Adjusting the interpupillary distance
c
5
Adjusting the condenser position and aperture iris diaphragm
a
b
10
a
a
b
Using the pre-focusing knob
} The pre-focusing knob prevents breakage of the specimen by
collision between the specimen and objective.
1
After bringing the specimen into focus with the objective which has
the shortest WD, rotate the pre-focusing knob a so that bottom of
the pre-focusing knob touches the stage guide.
2
To provide a certain margin of focusing range, rotate the knob by about
half turn backward from the stopped position.
Basically, it is recommended to always use the pre-
CAUTION
focusing knob a but if it is not necessary, set the pre-
focusing knob at the highest position. If the pre-focusing
knob a is not set at the highest position, the specimen
may not be focused.
} The interpupillary distance adjustment is to adjust the distance
between two eyepieces according to that between your eyes. This
helps to observe a single microscopic image and to reduce eye
strain during observation.
While keeping the right and left eyepieces horizontally, move the
binocular portion in the a or b direction to coincide the right
view field with the left completely. The value indicated by the
index (protrusion) c of the left eyepiece sleeve represents the
interpupillary distance.
} Note your interpupillary distance so that it can be quickly duplicated.
} You can move the eyepieces upward and downward from the
position where both eyepieces are in a straight line with maximum
interpupillary distance.
} The condenser is usually used in the highest position. If the entire
observed field of view is not bright enough, brightness may be
improved by lowering the condenser slightly.
1
Rotate the condenser height adjustment knob a to move the
condenser to the highest position.
2
The aperture stop lever b has an indication of objective magnification
(4X, 10X, 40X, 100X). Rotate the aperture stop lever so that the indication
of the magnification is the same as the objective in use faces front.