Cisco DATAVOX 7941 Kurzreferenz-Handbuch - Seite 4

Blättern Sie online oder laden Sie pdf Kurzreferenz-Handbuch für IP-Telefon Cisco DATAVOX 7941 herunter. Cisco DATAVOX 7941 6 Seiten. Multi-line ip phones
Auch für Cisco DATAVOX 7941: Benutzerhandbuch (19 seiten), Benutzerhandbuch (6 seiten), Benutzerhandbuch (26 seiten), Benutzerhandbuch (6 seiten), Benutzerhandbuch (14 seiten), Benutzerhandbuch (6 seiten), Schnellstart-Handbuch (6 seiten), Benutzerhandbuch (17 seiten), Kurzreferenz-Handbuch (2 seiten), Schnellstart-Handbuch (21 seiten), Benutzerhandbuch (4 seiten), Kurzreferenz-Handbuch (4 seiten), Benutzerhandbuch (7 seiten), Einrichten (11 seiten), Kurzreferenz-Handbuch (1 seiten), Benutzerhandbuch (2 seiten), Benutzerhandbuch (2 seiten), Gebrauchsanweisung (3 seiten), Handbuch (11 seiten), Brief (2 seiten), Benutzerhandbuch (2 seiten), Referenzhandbuch (3 seiten), Benutzerhandbuch (2 seiten), Schnellstart-Handbuch (2 seiten)
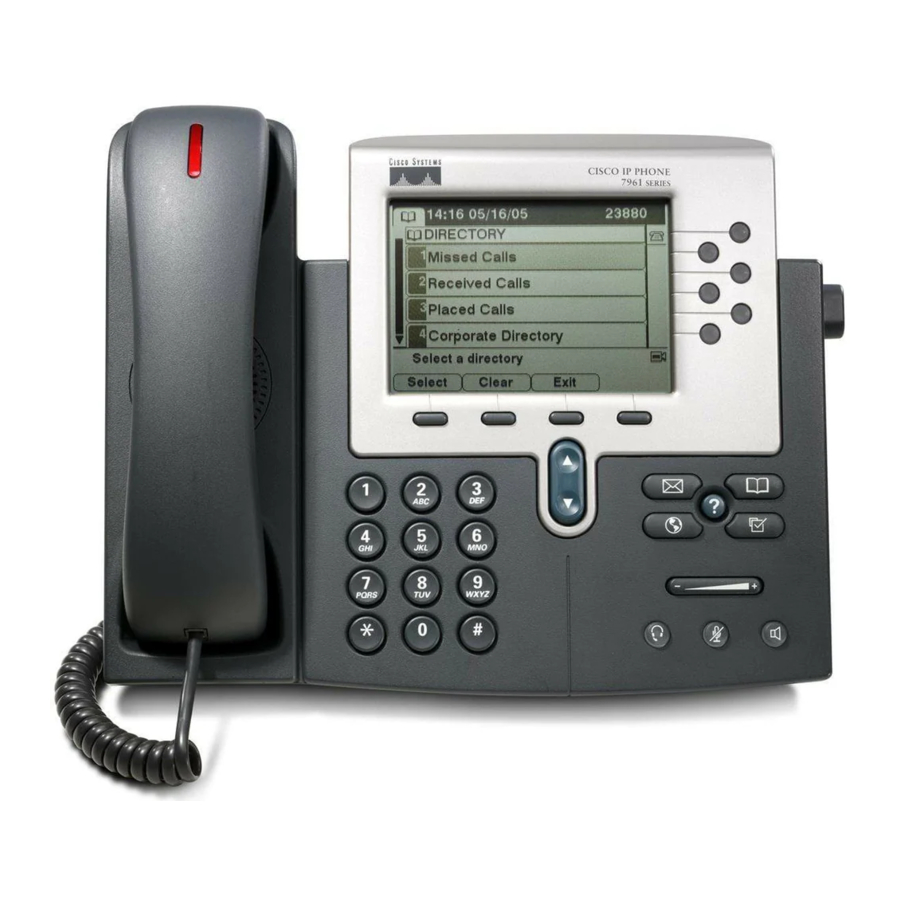
Cisco DATAVOX 7941 Kurzreferenz-Handbuch
Cisco Unity Voice Mail
Activating Your Voice Mailbox
 The first time you access your voice mail box you will be
prompted through a voice tutorial to record your name,
record your standard greeting, and set your personal
password.
The default password is 12345
 You must complete this tutorial to activate your voice
mailbox.
Accessing Your Voice Mailbox
 FROM YOUR OWN PHONE: Press the Messages button and
then enter your password when prompted.
 FROM ANY OTHER IP PHONE: Press the Messages button
and then the asterisk (*) key. Enter your voice mail ID (usually
the same as your 4 digit extension) and password when
prompted.
 FROM OUTSIDE THE COUNTY OFFICES: Call 815-895-1600.
You will be asked to enter your voice mail ID (usually your 4
digit extension) followed by the (#) key. Then you will be
asked to enter your password followed by the (#) key.
Express Messaging
 FROM AN INTERNAL EXTENSION: Press the asterisk (*) key
prior to the extension you want to call and you will be connected to
the voicemail box for that extension.
Transfer Directly to Voicemail
 Answer the incoming call.
 Press the TRANSFER soft key.
 Dial * followed by the 4 digit extension.
 Press the TRANSFER soft key and hang up.
Voicemail Greetings
 Users typically use only their standard (default) and alternate voice
mail greetings.
 The alternate greeting is often referred to as an "extended
absence" greeting and is used when the user does not want their
standard greeting to play.
 If the alternate greeting is not activated, the system will default to
play the user's standard greeting.
 If the alternate greeting is active it will supercede all other
greetings.
 There are 6 greeting options, Standard, Closed, Alternate,
Busy, Internal and Holiday.
7
Sending Messages (Compose) from Unity
 Login to your mailbox.
 At the Main Menu, press 2 to send a message
 Record your message and press #
 Enter the recipients 4 digit extension followed by #
 Hint - Pressing ## will bypass the mailbox user info.
 Add additional recipients if desired.
 Press # when finished adding recipients to the list.
 Press # to send the message.
Voicemail Distribution Lists
 When sending messages (composing) from Unity users can
send messages to individual internal extensions or
distribution lists.
 Enter distribution list number followed by #.
Using Cisco Unity Personal Communications Assistant
Note: This configuration tool is for advanced users. Please contact
IMO for additional assistance using the Cisco Unity Personal
Communications Assistance.
Access Online Tool
 Open web browser on PC.
 Click in the address field and enter
 http://10.200.1.12/ciscopca
 Enter your user ID and password. Your user ID is typically
the last 4 digits of your phone number. The default
password is 12345.
Change Password
 A password is needed when accessing your online
configuration tool. The default password is 12345.
 Select User Options>User Settings, enter password
information, and press Save.
Change PIN
 A PIN is needed when accessing certain services on Web
page and phone: i.e. Personal Address Book. The default
PIN is 12345, Select User Options>User Settings, enter PIN
information, and press Save.
(Ciscopca)
8