Cisco DATAVOX 7941 Manuel de référence rapide - Page 4

Parcourez en ligne ou téléchargez le pdf Manuel de référence rapide pour {nom_de_la_catégorie} Cisco DATAVOX 7941. Cisco DATAVOX 7941 6 pages. Multi-line ip phones
Également pour Cisco DATAVOX 7941 : Manuel de l'utilisateur (19 pages), Manuel de l'utilisateur (6 pages), Manuel de l'utilisateur (26 pages), Manuel de l'utilisateur (6 pages), Manuel de l'utilisateur (14 pages), Manuel de l'utilisateur (6 pages), Manuel de démarrage rapide (6 pages), Manuel de l'utilisateur (17 pages), Manuel de référence rapide (2 pages), Manuel de démarrage rapide (21 pages), Manuel de l'utilisateur (4 pages), Manuel de référence rapide (4 pages), Manuel de l'utilisateur (7 pages), Mise en place (11 pages), Manuel de référence rapide (1 pages), Manuel de l'utilisateur (2 pages), Manuel de l'utilisateur (2 pages), Manuel pratique (3 pages), Manuel (11 pages), Lettre (2 pages), Manuel de l'utilisateur (2 pages), Manuel de référence (3 pages), Manuel de l'utilisateur (2 pages), Manuel de démarrage rapide (2 pages)
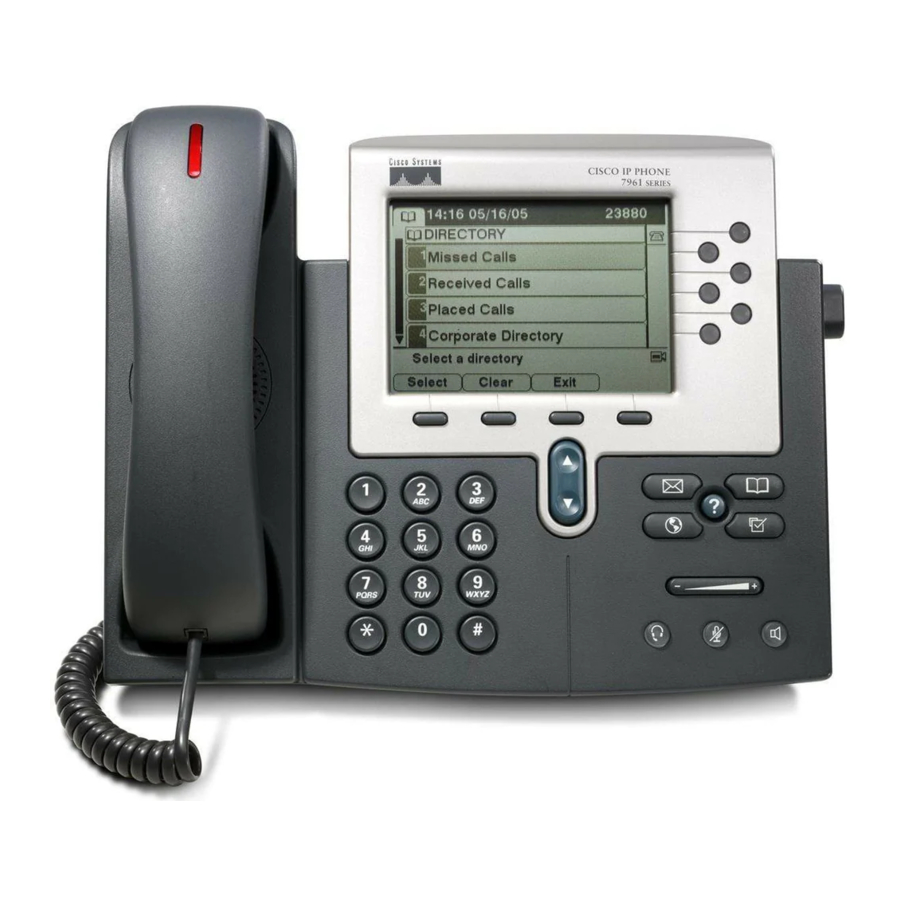
Cisco DATAVOX 7941 Manuel de référence rapide
Cisco Unity Voice Mail
Activating Your Voice Mailbox
 The first time you access your voice mail box you will be
prompted through a voice tutorial to record your name,
record your standard greeting, and set your personal
password.
The default password is 12345
 You must complete this tutorial to activate your voice
mailbox.
Accessing Your Voice Mailbox
 FROM YOUR OWN PHONE: Press the Messages button and
then enter your password when prompted.
 FROM ANY OTHER IP PHONE: Press the Messages button
and then the asterisk (*) key. Enter your voice mail ID (usually
the same as your 4 digit extension) and password when
prompted.
 FROM OUTSIDE THE COUNTY OFFICES: Call 815-895-1600.
You will be asked to enter your voice mail ID (usually your 4
digit extension) followed by the (#) key. Then you will be
asked to enter your password followed by the (#) key.
Express Messaging
 FROM AN INTERNAL EXTENSION: Press the asterisk (*) key
prior to the extension you want to call and you will be connected to
the voicemail box for that extension.
Transfer Directly to Voicemail
 Answer the incoming call.
 Press the TRANSFER soft key.
 Dial * followed by the 4 digit extension.
 Press the TRANSFER soft key and hang up.
Voicemail Greetings
 Users typically use only their standard (default) and alternate voice
mail greetings.
 The alternate greeting is often referred to as an "extended
absence" greeting and is used when the user does not want their
standard greeting to play.
 If the alternate greeting is not activated, the system will default to
play the user's standard greeting.
 If the alternate greeting is active it will supercede all other
greetings.
 There are 6 greeting options, Standard, Closed, Alternate,
Busy, Internal and Holiday.
7
Sending Messages (Compose) from Unity
 Login to your mailbox.
 At the Main Menu, press 2 to send a message
 Record your message and press #
 Enter the recipients 4 digit extension followed by #
 Hint - Pressing ## will bypass the mailbox user info.
 Add additional recipients if desired.
 Press # when finished adding recipients to the list.
 Press # to send the message.
Voicemail Distribution Lists
 When sending messages (composing) from Unity users can
send messages to individual internal extensions or
distribution lists.
 Enter distribution list number followed by #.
Using Cisco Unity Personal Communications Assistant
Note: This configuration tool is for advanced users. Please contact
IMO for additional assistance using the Cisco Unity Personal
Communications Assistance.
Access Online Tool
 Open web browser on PC.
 Click in the address field and enter
 http://10.200.1.12/ciscopca
 Enter your user ID and password. Your user ID is typically
the last 4 digits of your phone number. The default
password is 12345.
Change Password
 A password is needed when accessing your online
configuration tool. The default password is 12345.
 Select User Options>User Settings, enter password
information, and press Save.
Change PIN
 A PIN is needed when accessing certain services on Web
page and phone: i.e. Personal Address Book. The default
PIN is 12345, Select User Options>User Settings, enter PIN
information, and press Save.
(Ciscopca)
8