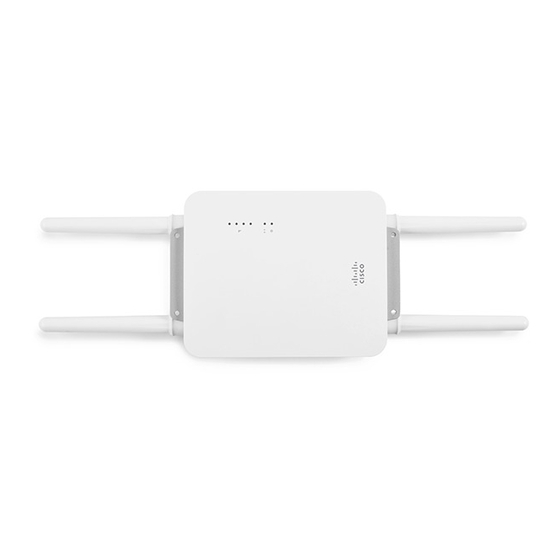
Cisco MERAKI MR66 Installationshandbuch - Seite 14
Blättern Sie online oder laden Sie pdf Installationshandbuch für Gateway Cisco MERAKI MR66 herunter. Cisco MERAKI MR66 20 Seiten. Troubleshooting mesh communication between access points
Auch für Cisco MERAKI MR66: Handbuch (7 seiten)

- 1. Package Contents
- 2. Understanding the MR66
- 3. Antennas and Ports
- 4. Pre-Install Preparation
- 5. Power Source Options
- 6. Factory Reset Button
- 7. Led Indicators and Run Dark Mode
- 8. Check and Upgrade Firmware
- 9. Collect Tools
- 10. Collect Additional Hardware for Installation
- 11. Installation Instructions
- 12. Choose Your Mounting Location
- 13. Verify Device Functionality and Test Network Coverage
- 14. Troubleshooting
- 15. Regulatory Information for MR66
4. Plug the Ethernet cable into the Ethernet port of the Meraki MR66.
a. Connect the cable to the Ethernet port on the MR66.
b. Screw the gland body into the threaded hole of the port. Use an adjustable wrench to make sure the gland
body is fully seated in the hole.
c. Insert the split ring gasket into the gland body.
d. Screw the cap tightly onto the gland. You may need a wrench to fully tighten the cap, but take care not to
damage the cable in the process.
Attach Grounding Strap
Connect one end of grounding strap to grounding post with included screw and washer. Securely attach the other end
nearby metal structure.
Verify Device Functionality and Test Network Coverage
1. Check LEDs
The Radio Power LED should be solid green. If it is flashing orange, the firmware is automatically upgrading and
the LED should turn green when the upgrade is completed (normally in under thirty minutes). If the device is a
gateway, the Ethernet LED and the four Signal Strength LEDs should be green as well. If the device is a repeater
only, the Ethernet LED will not be illuminated and the number of green Signal Strength LEDs will show the signal
strength to the nearest Meraki device. See section 2.6 for further details about information conveyed by the LEDs.
Note: Your MR66 must have an active route to the Internet to check and upgrade its firmware.
14
