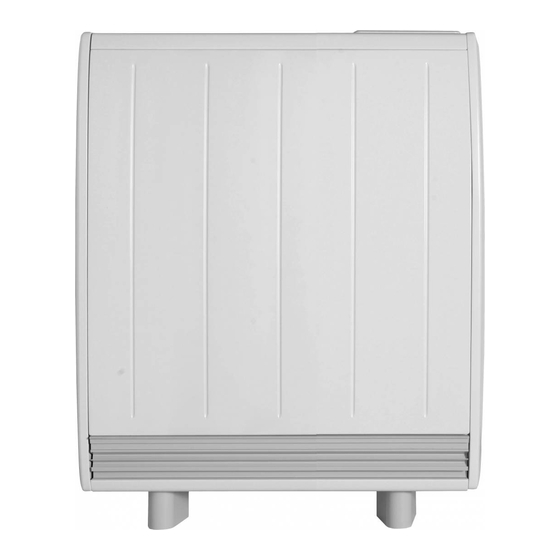
Dimplex Quantum series Installations- und Betriebshandbuch - Seite 6
Blättern Sie online oder laden Sie pdf Installations- und Betriebshandbuch für Elektrischer Heizer Dimplex Quantum series herunter. Dimplex Quantum series 12 Seiten.
Auch für Dimplex Quantum series: Schnellstart-Handbuch (12 seiten)

4. Remove the screws which hold the grille panel in
position.
Set the grille carefully to one side to ensure that it is not
damaged.
6. Remove the two screws securing the front panel,
located at the upper sides of the heater, and swing the
upper edge of the front panel upwards and unhook it from
along the heater base.
FIXING THE HEATER TO THE WALL
The heater must be securely fi xed to a wall. Screws with suitable wall fi xings for solid walls
are provided. If other wall types are encountered it is the installer who must choose the
most suitable fi xing.
SUGGESTED FIXINGS
SOLID BRICK/BLOCK: No. 10 size high temperature resistant plastic inserts, 8mm drill bit.
Drill hole 15mm deeper than plastic insert length.
PLASTERBOARD - If possible locate studding and use No. 10 woodscrews directly into the
wood, otherwise M5 rawlplug intersets are suitable.
NOTE:
For other wall types (e.g. timber frame and hollow concrete), seek specialist
advice.
Fig. 4
F
5. Remove the two screws located towards the bottom, at
either end of the heater, which retain the heater sides.
Push the left hand and right hand sides towards the top of
the heater to release each side from its securing points.
Fig. 6
NOTE:
Retain these
screws for
reassembly. If
misplaced,
M4 X 10 Tritap
screws must be
used
7. Place the heater in its fi nal position and mark the location
holes visible through the back at either side of the heater.
Remove the wall fi xing bracket from the back of the heater.
Fig.
Fig. 5
Fig. 7
- 6 -
