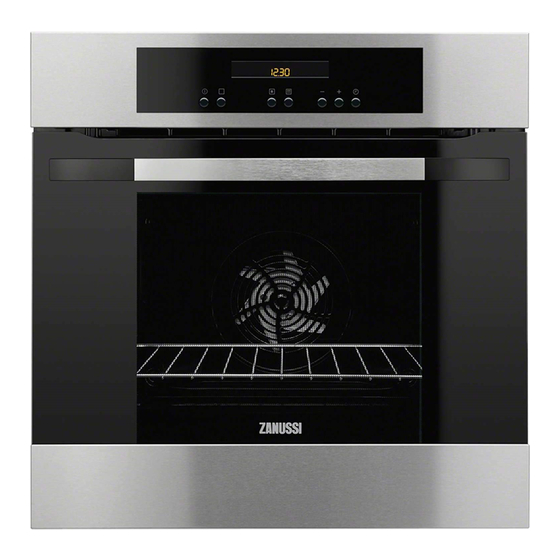
Zanussi ZOP38903 Benutzerhandbuch - Seite 17
Blättern Sie online oder laden Sie pdf Benutzerhandbuch für Backofen Zanussi ZOP38903 herunter. Zanussi ZOP38903 24 Seiten. Product manaul
Auch für Zanussi ZOP38903: Benutzerhandbuch (24 seiten), Benutzerhandbuch (28 seiten)

The bars on the symbol come on one by one to
show that the temperature in the appliance increases.
The symbol
flashes.
After some minutes the door locks. The display
shows the symbol
When Pyro Cleaning is completed, the display shows the
time of day. The oven door stays locked. When the appli-
ance is cool again, an acoustic signal sounds and the
door unlocks.
To stop Pyro Cleaning before it is completed, press
.
Setting the end time for Pyro Cleaning
You can use the End
of the procedure.
1.
Start the Pyro Cleaning procedure.
2.
Press
again and again until the symbol
flashes. The display shows the time for the end of
Pyro Cleaning.
3.
Press + or - to adjust the time for the end of Pyro
Cleaning.
Oven lamp
Warning! Be careful when you change the oven
lamp. There is a risk of electrical shock.
Before you change the oven lamp:
• Deactivate the oven.
• Remove the fuses in the fuse box or deactivate the cir-
cuit breaker.
Put a cloth on the bottom of the oven to prevent
damage to the oven light and glass cover.
Always hold the halogen lamp with a cloth to prevent
grease residue from burning on the lamp.
1.
Turn the glass cover counterclockwise to remove it.
2.
Clean the glass cover.
3.
Replace the oven light bulb with an applicable 300
°C heat-resistant oven light bulb.
Use the same oven lamp type.
4.
Install the glass cover.
Cleaning the oven door
The oven door has four glass panels. You can remove the
oven door and the internal glass panels to clean them.
www.zanussi.com
.
function to delay the start
The oven door can close if you try to remove the
glass panels before you remove the oven door.
Removing the oven door and the glass panels
1
Open the door fully
and hold the two door
hinges.
3
Close the oven door to
the first opening position
(halfway). Then pull for-
ward and remove the door
from its seat.
5
Release the locking
system to remove the
glass panels.
2
Lift and turn the levers
on the two hinges.
4
Put the door on a soft
cloth on a stable surface.
90°
6
Turn the two fasteners
by 90° and remove them
from their seats.
17
