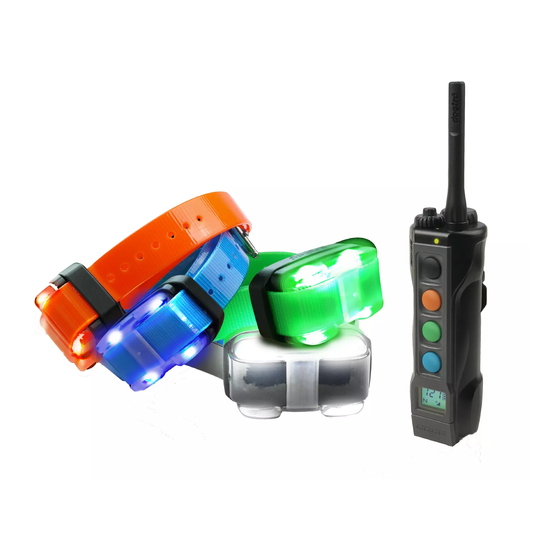
Dogtra Edge Benutzerhandbuch - Seite 12
Blättern Sie online oder laden Sie pdf Benutzerhandbuch für Haustierpflegeprodukt Dogtra Edge herunter. Dogtra Edge 19 Seiten. Remote controlled dog training collars
Auch für Dogtra Edge: Benutzerhandbuch (19 seiten), Produkthandbuch (14 seiten), Benutzerhandbuch (20 seiten), Code-Einstellungshandbuch (2 seiten)

11. Code Setting
To set the coding for the Dogtra EDGE transmitter to an existing
receiver/collar, or an Additional receiver/collar, follow the steps below.
*Attention: Turn the mode selection dial to "P", or "L", to check that
unit has been coded properly.
20
1. Start by turning on the transmitter
by holding down the on/off button
on the back of the transmitter.
2. Set the transmitter's intensity dial
to "0", and the mode selection dial
to "C".
3. In the off position hold down the
receiver/collar on/off button until
the green LED indicator light
begins to blink rapidly.
4. Immediately press the button on
the transmitter of the color you
would like the receiver/collar to be
coded to.
12. How to change the length of the contact points
The Dogtra EDGE comes equipped with standard 5/8" contact points
that can be extended to 3/4" contact points, for use with dogs with
longer coats.
To increase the contact point length from 5/8" to 3/4", follow the steps
below.
1. Using the included adjustment tool with the side marked 5/8",
unscrew the contact points counter-clockwise.
2. Place the contact point extension over the exposed threads, flat side
down.
3. Place the contact points over the extensions and tighten the contact
points and extensions clockwise using the adjustment tool with the
side marked 3/4".
* Caution: Tighten until firmly in place. Be careful not to over tighten.
To shorten the contact points back to the standard 5/8", start with the
adjustment tool with the side marked 3/4", remove the contact point
extensions, and tighten the contact points with the adjustment tool with
the side marked 5/8".
21
